

The Third Cooking with Rachael Newsletter
The Second Cooking with Rachael Newsletter
The First Cooking nwith Rachael Newsletter


Birthday Parties and Piscos

This year Zoey invited her entire class, plus a few friends over to celebrate her birthday in our home. As my Spanish is definitely not on par to direct or respond to 25 Chilean-Spanish speaking kids, I hired one of our favorite sitters to help coordinate a litany of games to keep the kids busy. We played pictionary, limbo, unwrap the mummy, pop the balloon… and now I’m just making up names, but you get the idea. At the end, we were all beat, but Zoey had a FABULOUS time and from what I hear, her friends did as well.

Takeaways for your amusement (notes for my next Rodeo):

Don’t invite people more than 10 days ahead of the party. Even more than 7 days can cause confusion.
Take the RSVP list with a grain of salt. Plan on 25% more kids arriving.
Unless you explicitly say so, entire families will come. Even if you give a drop-off option, plan on some parents staying.
There is a rhythm to Chilean parties. Activities for 90-120 minutes, pizza and orange soda, cake and singing, a pull-string pinata (not to be confused with a traditional pinata) and gift bags on the way out. No present opening.
Always have a back-up bag of candy ready for those kids who didn’t get enough and will cry crocodile tears. And won’t stop.
Hire as many people as you can to entertain and clean.
And lastly, if you play a game outside, make sure you do a full headcount of all children before heading upstairs. Eeek. Sorry again Amaia.
I’m not going to tell you how many of these things I did NOT do. Ahem.
And for the adult after party, I recommend Piscos.

Pisco Sour
Ingredients
3 ounces (90 ml) Peruvian pisco
2 ounces (60 ml) lemon juice
1 1/2 ounces (45 ml) simple syrup (recipe below)
1 egg white
4 ice cubes
2-3 drops angostura bitters
1. Blend all ingredients except the bitters on high speed until frothy.
2. Pour into a glass, top with a few drops of bitters and serve.
Repeat as often as needed.
Simple Syrup
1 cup (200 g) sugar
8 ounces (240 ml) water
(or equal parts water and sugar)
In a medium saucepan combine sugar and water. Bring to a boil, stirring, until sugar has dissolved. Allow to cool.
Picture stolen. Now I have a great reason to make a batch of piscos. ;)
Chilean Pebre

I think I’m pretty much a sucker for any sauce or salsa that can liven up a dish. My dinners usually consist of a piece of protein and a veg. A generous serving of pebre helps a simple piece of pan-fried salmon or roasted chicken thigh transcend to a new high. Almost every Chilean restaurant has their own form of pebre - and almost every one of them has been write-home-worthy. They are often served with bread (of which I eat little), so I pour them on top of my entree or simply spoon them from the bowl and ask for seconds.
One of my absolute favorite friends here in Chile brought a bowl of pebre over one night for a dinner party and I was bowled over by how beautifully it accented our meal.
To all my friends not here in Chile - here is my go at it. There are dozens of ways and all are correct:
Ingredients
2 tomatoes diced (optional: peel and seed first)
1/4 cup (15 grams) chopped fresh cilantro leaves (or parsley)
2 teaspoons (10 ml) olive oil
1 teaspoon (5 ml) red wine vinegar
Finely chopped rococo, aji, or jalepeno to taste
¼ cup (15 grams) red onion, finely chopped
Salt and black pepper to taste
Instructions
Soak red onion in cold water for ten minutes to remove bite. Drain well. Mix all ingredients together in a bowl.
Disclaimer: Ya’ll I totally stole this photo. As soon as I take one of my own I will update. ;)
Crack Sauce

If you have been to our house in the past year, you've most likely been served some of this green goo. This recipe is our secret crack sauce and we pour it on everything... eggs, chicken, fish, vegetables. Even the kids love it. Play with the heat, I like a little kick.
Cilantro Mojo
3 large garlic cloves
1/2 green serrano (more or less to taste)
1 bunch cilantro
1 teaspoon ground cumin
1/2 cup extra-virgin olive oil
2 teaspoons white wine vinegar*
1 teaspoon salt
Blend. If you are making a single batch, use an immersion blender or small food processor. For a double batch puree in blender.
Keeps for a few days, unless you only make one batch. Then it will be gone on day 1.
*For the vinegar, sweeter is better. If you have plain white wine vinegar you can adjust to taste with a 1/2 teaspoon of agave or sugar.
Inspired by José Pizarro.
Olive Oil Granola

In Chile, voltage is 220 V versus 120 V in the States. You can get adapters and converters to help with this, but if your electronics have a motor, over time they may eventually burn out. I opted to give away or lend out many of my beloved kitchen friends: VitaMix, Juicer, KitchenAid, Food Processor...

I'll eventually rebuild my kitchen with some essentials, but since we've moved I've been cooking without these guys. I miss them...but I've also relied more on other items in my kitchen.
For example, the Kuhn Rikon Swiss Chop Chop which is a fun mini processor we've used to chop nuts, make apple crisp topping and other small projects. I originally bought this for kid's cooking classes as safer options for little fingers, and it has come in quite handy these last few weeks.
Olive Oil Granola

Zoey chopped all the nuts for our granola today.
(Inspired many years ago by a Cook's Illustrated Recipe)
2 cups mixed nuts, chopped
3 cups non-instant oats
1/2 cup shredded unsweetened coconut
*1/2 cup honey
1/3 cup olive oil
1 cup dried fruit
1 teaspoon extract (optional)
pinch of salt (optional)
*for the honey, cut back to 1/3 cup for a looser less sweet granola. In the States I did an equal mixture of honey, molasses and maple syrup.
Instructions
- Adjust oven rack to center position and heat oven to 325 degrees. Mix all ingredients except dried fruit together in large bowl.
- Pour mixture onto a cookie sheet pan lined with parchment, spreading mixture in a thin layer.
- Bake, stirring and re-spreading mixture into an even layer every 5 minutes, until granola is light golden brown, about 15 minutes. Stir dried fruit, then spread granola evenly in pan; set on a wire rack and cool to room temperature. Loosen dried granola with a spatula; store in airtight container.
Note: One batch should fit on an 11 X 7-inch cookie sheet pan. If you have too much for one layer, cook in two batches.
Santiago

Hello friends. Let's just gloss right over the fact that I haven't updated my blog in over 2 years. What can I say? Two kids, a full time job and lots and lots of cooking classes. A girl has to have her priorities. ;)
The real question...why am I back? As many of my former cooking students know, in August my family moved to Chile, Santiago. We said good-bye to Seattle, Washington our home for the past five + years, my job of almost 8 years, and our friends.
All our friends. :(
(I miss you.)

And we are here. In this beautiful, vibrant, bustling city on the other side of the world. We moved for my husband's work and though he speaks Spanish, the rest of us don't. The things we have learned in the past two months could fill a blog on its own. But what I want to write about here is food. It won't be what you are expecting. And having a gluten-free person among our household has been a huge challenge (I love you Joel).
I'd like to take you on my journey and share with you what we are finding and learning. There is no good place to start...so I'm going to start with manioc flour (which also goes by the name cassava or yucca). I've been anxious to get my hands on this stuff after we fell in love with Pão de Queijo, a gluten-free Brazilian cheese bread. Easy to find the bread in the States...hard to find the flour. I tried using tapioca flour and even made the cheese bread in a kids cooking class. And while it was tasty, it was a little gooey and didn't hold a nice shape.
Where tapioca flour has almost zero health properties, manioc has the nutritional value of wheat flour...just without the gluten. So you can imagine my excitement when last week (after looking in a dozen groceries stores) I finally found manioc flour in a tiny shop in Santiago. I bought two bags and used it to made delicious Pão de Queijo as well as a Paleo pancake recipe with manioc.
Recipes below:
Pão de Queijo
(Joel is taking Portuguese and pronounces this "pongh dee kay-jho". Check out this fun link to hear others say it.)

2 1/2 cups Manioc Flour or Tapioca if that is all you can find
1/2 cup Olive Oil
1 cup Whole Milk
2 Large Eggs, beaten
1 cup Parmesan Cheese, grated
1 teaspoon Salt
- Heat oven to 400 F.
- In a large bowl mix the flour and salt.
- In a sauce pan, warm the milk and oil until it starts to boil. Remove from the stove and pour over flour mixture.
- Mix very well until your batter looks like glue.
- Add the eggs and mix.
- Add the Parmesan cheese. Mix until all ingredients are combined and you are able to hold the batter in your hand to shape 1 or 2-inch balls.
- Cover baking sheet with parchment paper, no need to grease. Place dough balls an inch apart as they don't spread much. Lower the oven temperature to 375 F and bake for 15 to 20 min. They are done when they are a light golden brown and smell fantastic!
Inspired by Fabiola.
Manioc Pancakes

I'm not lying...I've made these three days in a row now.
3 eggs
1/4 cup butter, melted (or any oil)
1/4 cup milk (any kind)
1 -2 Tablespoons honey
3/4 cup manioc flour
1/2 teaspoon baking soda
1/4 teaspoon salt
- In a mixing bowl, whisk the eggs.
- Add butter, milk, and honey. Mix well.
- Add the cassava flour, baking soda, and salt; mix well.
- Cook by scant ¼ cupfuls, 20 seconds or so per side on a greased griddle or skillet over medium heat, or until golden brown and cooked through.
- Serve with maple syrup if desired. Or if you live in a country that doesn't appreciate maple syrup, try nutella, honey or jam. :)
Heavily inspired by https://blog.paleohacks.com/cassava-flour-pancakes/
Welcome Baby Soren!
It was a little quiet last month at Cooking With Rachael and May will be more of the same. Here is a peek at what has kept me preoccupied...introducing Soren Irving Rydbeck, born April 23rd. He is a little sweetie and excelling in what newborns do best: eating, sleeping and filling diapers.

I'm just now hopping back into my own kitchen and plan to post a bit more on the blog this month.
I will start filling my class calendar again in June...unless I get really antsy. For my Bellevue/Seattle readers, what classes would you like to see on the summer schedule?
Lemon Donuts
In November we made tasty baked donuts from scratch. Not exactly a health food option, but choosing to bake over deep frying made them a smidgen better for you and a much safer option for our littles at Romp.

The donuts were tasty and incredibly easy to make especially if you have a piping bag and a donut pan. Here is my recipe:
Lemon Donuts
3/4 cup plus 1 tablespoon (120 grams) all-purpose flour
1/4 cup (30 grams) whole wheat pastry flour
1 teaspoon baking powder
1/3 cup (75 grams) superfine sugar
1/4 teaspoon freshly grated nutmeg
1 tablespoon lemon zest
1/2 teaspoon salt
2 tablespoons (1 ounce) unsalted butter or vegetable shortening
1/4 cup whole milk, scalded
1/4 cup plain yogurt
1 teaspoon lemon extract
1 egg, beaten
1. Preheat the oven to 350°F. Lightly grease a doughnut pan.
2. Mix the flours and baking powder together in a large bowl. Whisk in the sugar, nutmeg, and salt.
3. Add the butter and use your fingers to rub it into the dry ingredients.
4. Add the milk, yogurt, lemon extract, and egg and stir until just combined. Do not overmix or your doughnuts may be rubbery.
5. Use a piping bag or a spoon, fill each doughnut cup about half full, making sure the center post is clear. Bake until doughnuts are a light golden brown and spring back when touched, 6 to 10 minutes. Let cool slightly before removing from pan.
When cool top with glaze and sprinkles (optional, but very pretty!)
Lemon Glaze
1/8 cup whole milk
1/2 teaspoon lemon extract
1 cups confectioners' sugar
1. Combine milk and lemon extract in a medium saucepan and heat over low heat until warm (or heat in microwave).
2. Sift confectioners' sugar into milk mixture.
3. Whisk slowly, until well combined.
4. Remove the glaze from the heat and set over a bowl of warm water.
5. Dip doughnuts into the glaze, 1 at a time, and set on a draining rack placed in a half sheet pan for 5 minutes before serving.
Sushi Madness
I taught a mini sushi class to very young kids in September. There are no action pictures as it was barely managed chaos the entire time. The kids had a blast and ate every roll they made.

There have been several requests to teach this as a full blown class, so keep an eye out for a hands-on winter sushi class.
When working with sushi mats, I typically wrap them in saran wrap to keep the rice from sticking to the mat. For this class we tried out non-stick sushi mats as well. They have a different feel, but made clean-up a snap. I have added them to my Amazon store along with my other favorite kitchen gadgets.

A Busy Season!
Things have been a little quiet on the blog front, though we have had a full schedule of classes over the last few months. I'll knock out a few blog posts here with some recipes to catch us up.
We had three great classes in August:
Hands-on Asian Cooking
Aside from making tasty food, I had the chance to work in the kitchen with some of my favorite ladies. I absolutely loved the Yuzu Lemon Tart and am including it at the end of the post. If you don't have yuzu, you can replace with lemon juice.

Hands-On Italian
This was a hands-on Italian class for kids, though in the picture there is little evidence of this. The kids really loved making the pasta dough and cranking it through the pasta maker. I've taught kids how to make pasta dozens of times and each time it is a joy to see little faces light up when sheets of pasta turn into noodles!

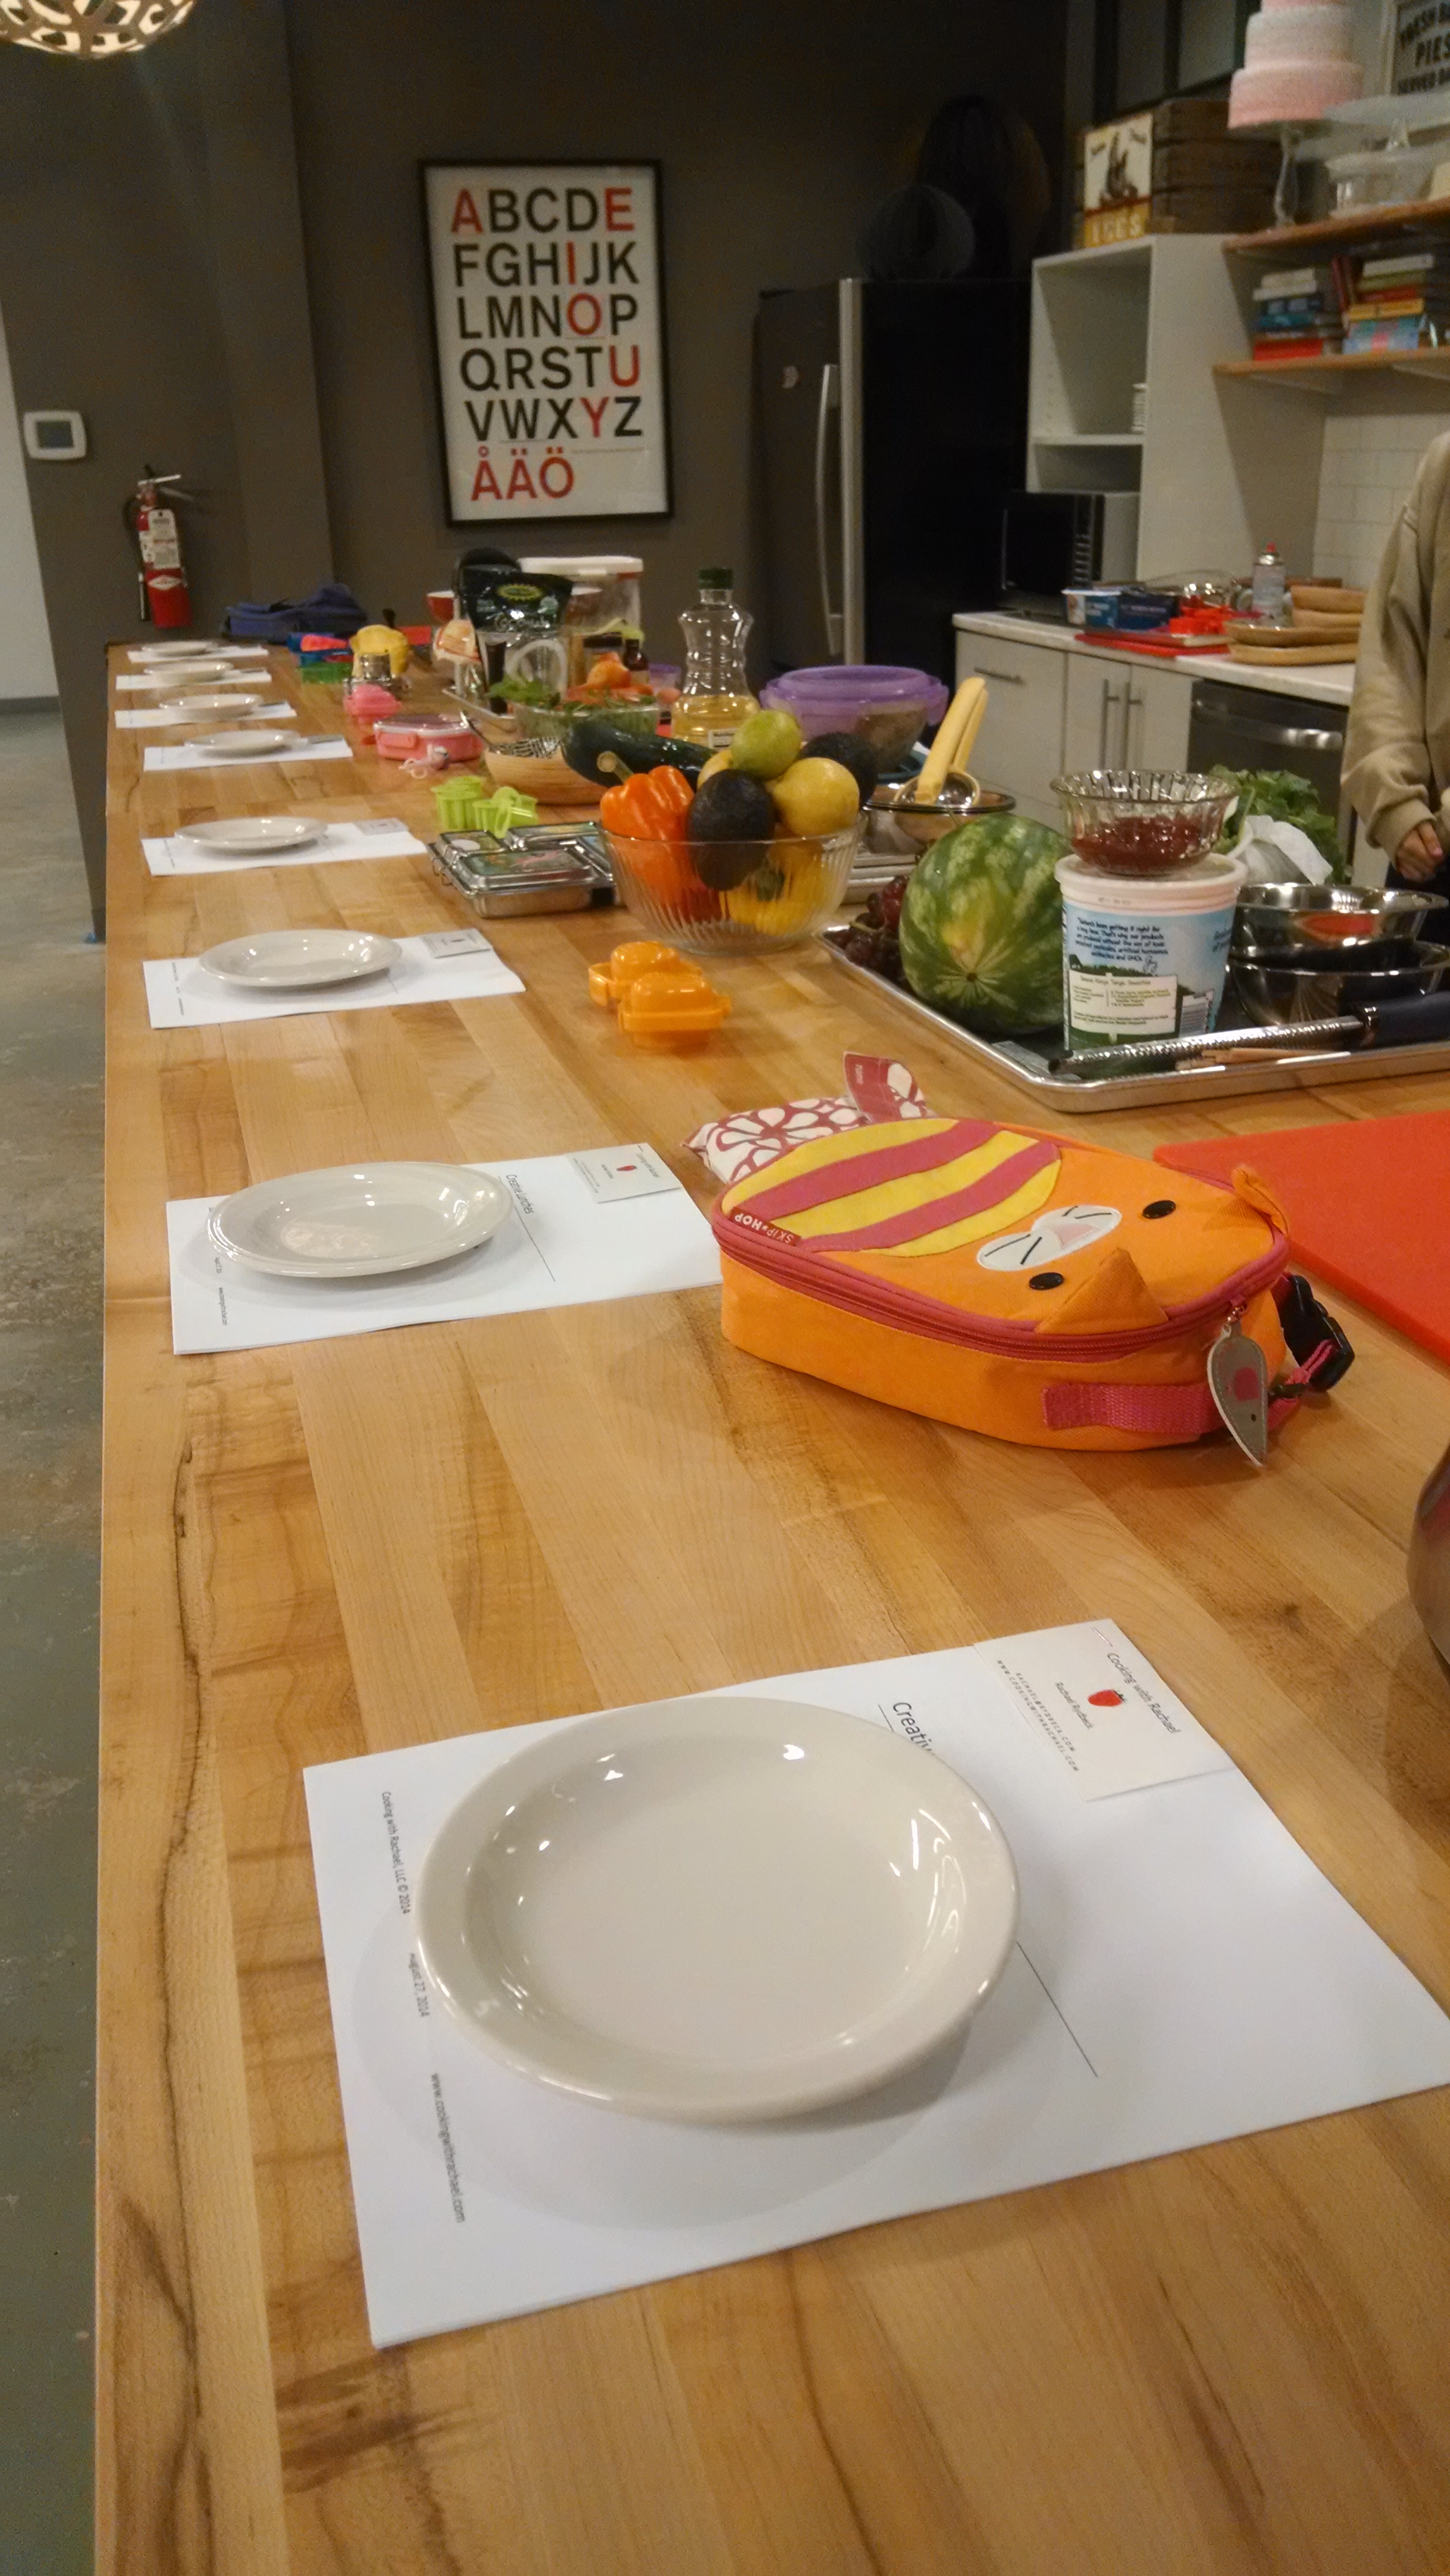
Creative Lunches
Lastly in August I started the first of a series in creative meals for kids. This class focused on creative lunchbox ideas and we played with fun cutters, molds and different styles of lunchboxes. I think my favorite part about this class was the lively discussion we had around meal ideas.
The class was mainly for parents, but the kids bounced from table to toys and back as we needed help plating food and sampling dishes.
Yuzu and Meyer Lemon Tart with Wild Huckleberry Preserves
Ingredients:
· ½ cup (1 stick) unsalted butter, melted
· 2 tablespoons finely grated lemon zest
· 1 ¾ cups all-purpose flour
· 1 ¼ cups granulated sugar
· 2 pinches of salt
· 6 large eggs
· 1 cup fresh lemon juice
· ½ cup heavy (whipping) cream
· Confectioners’ sugar for dusting (optional)
· Berries or huckleberry preserves (optional)
Instructions:
1. Position a rack in the middle of the oven and preheat the oven to 350 degrees. Have ready an 11-inch tart pan with removable bottom. Place on rimmed cookie sheet.
2. Mix melted butter and lemon zest, and let stand for 5 minutes. Whisk together the flour, only ¼ cup of the granulated sugar, and a pinch of salt in a medium bowl. Add the butter mixture in a fine stream, stirring with a fork, until the dough begins to come together. Transfer the mixture to the tart pan and press it with your fingertips evenly up the side and into the bottom. Bake for 20 minutes, or until the crust is light golden brown.
3. Whisk together the remaining sugar, juices, eggs and another pinch of salt in a medium bowl until smooth.
4. Beat the cream in a medium bowl until it forms soft peaks. Whisk the cream into the egg mixture just until blended.
5. Pour the filling into the still warm crust. Bake for 25 to 30 minutes, or until the filling is just set in the center. Let the pie cool on a wire rack.
6. Just before serving top with berries or preserves and generously sift confectioners’ sugar over the tart. Cut into the wedges and serve.
Popsicles in July!
Yesterday we celebrated a beautiful summer day in Seattle by making popsicles at Romp.
First we chopped up watermelon, pluots and apricots.
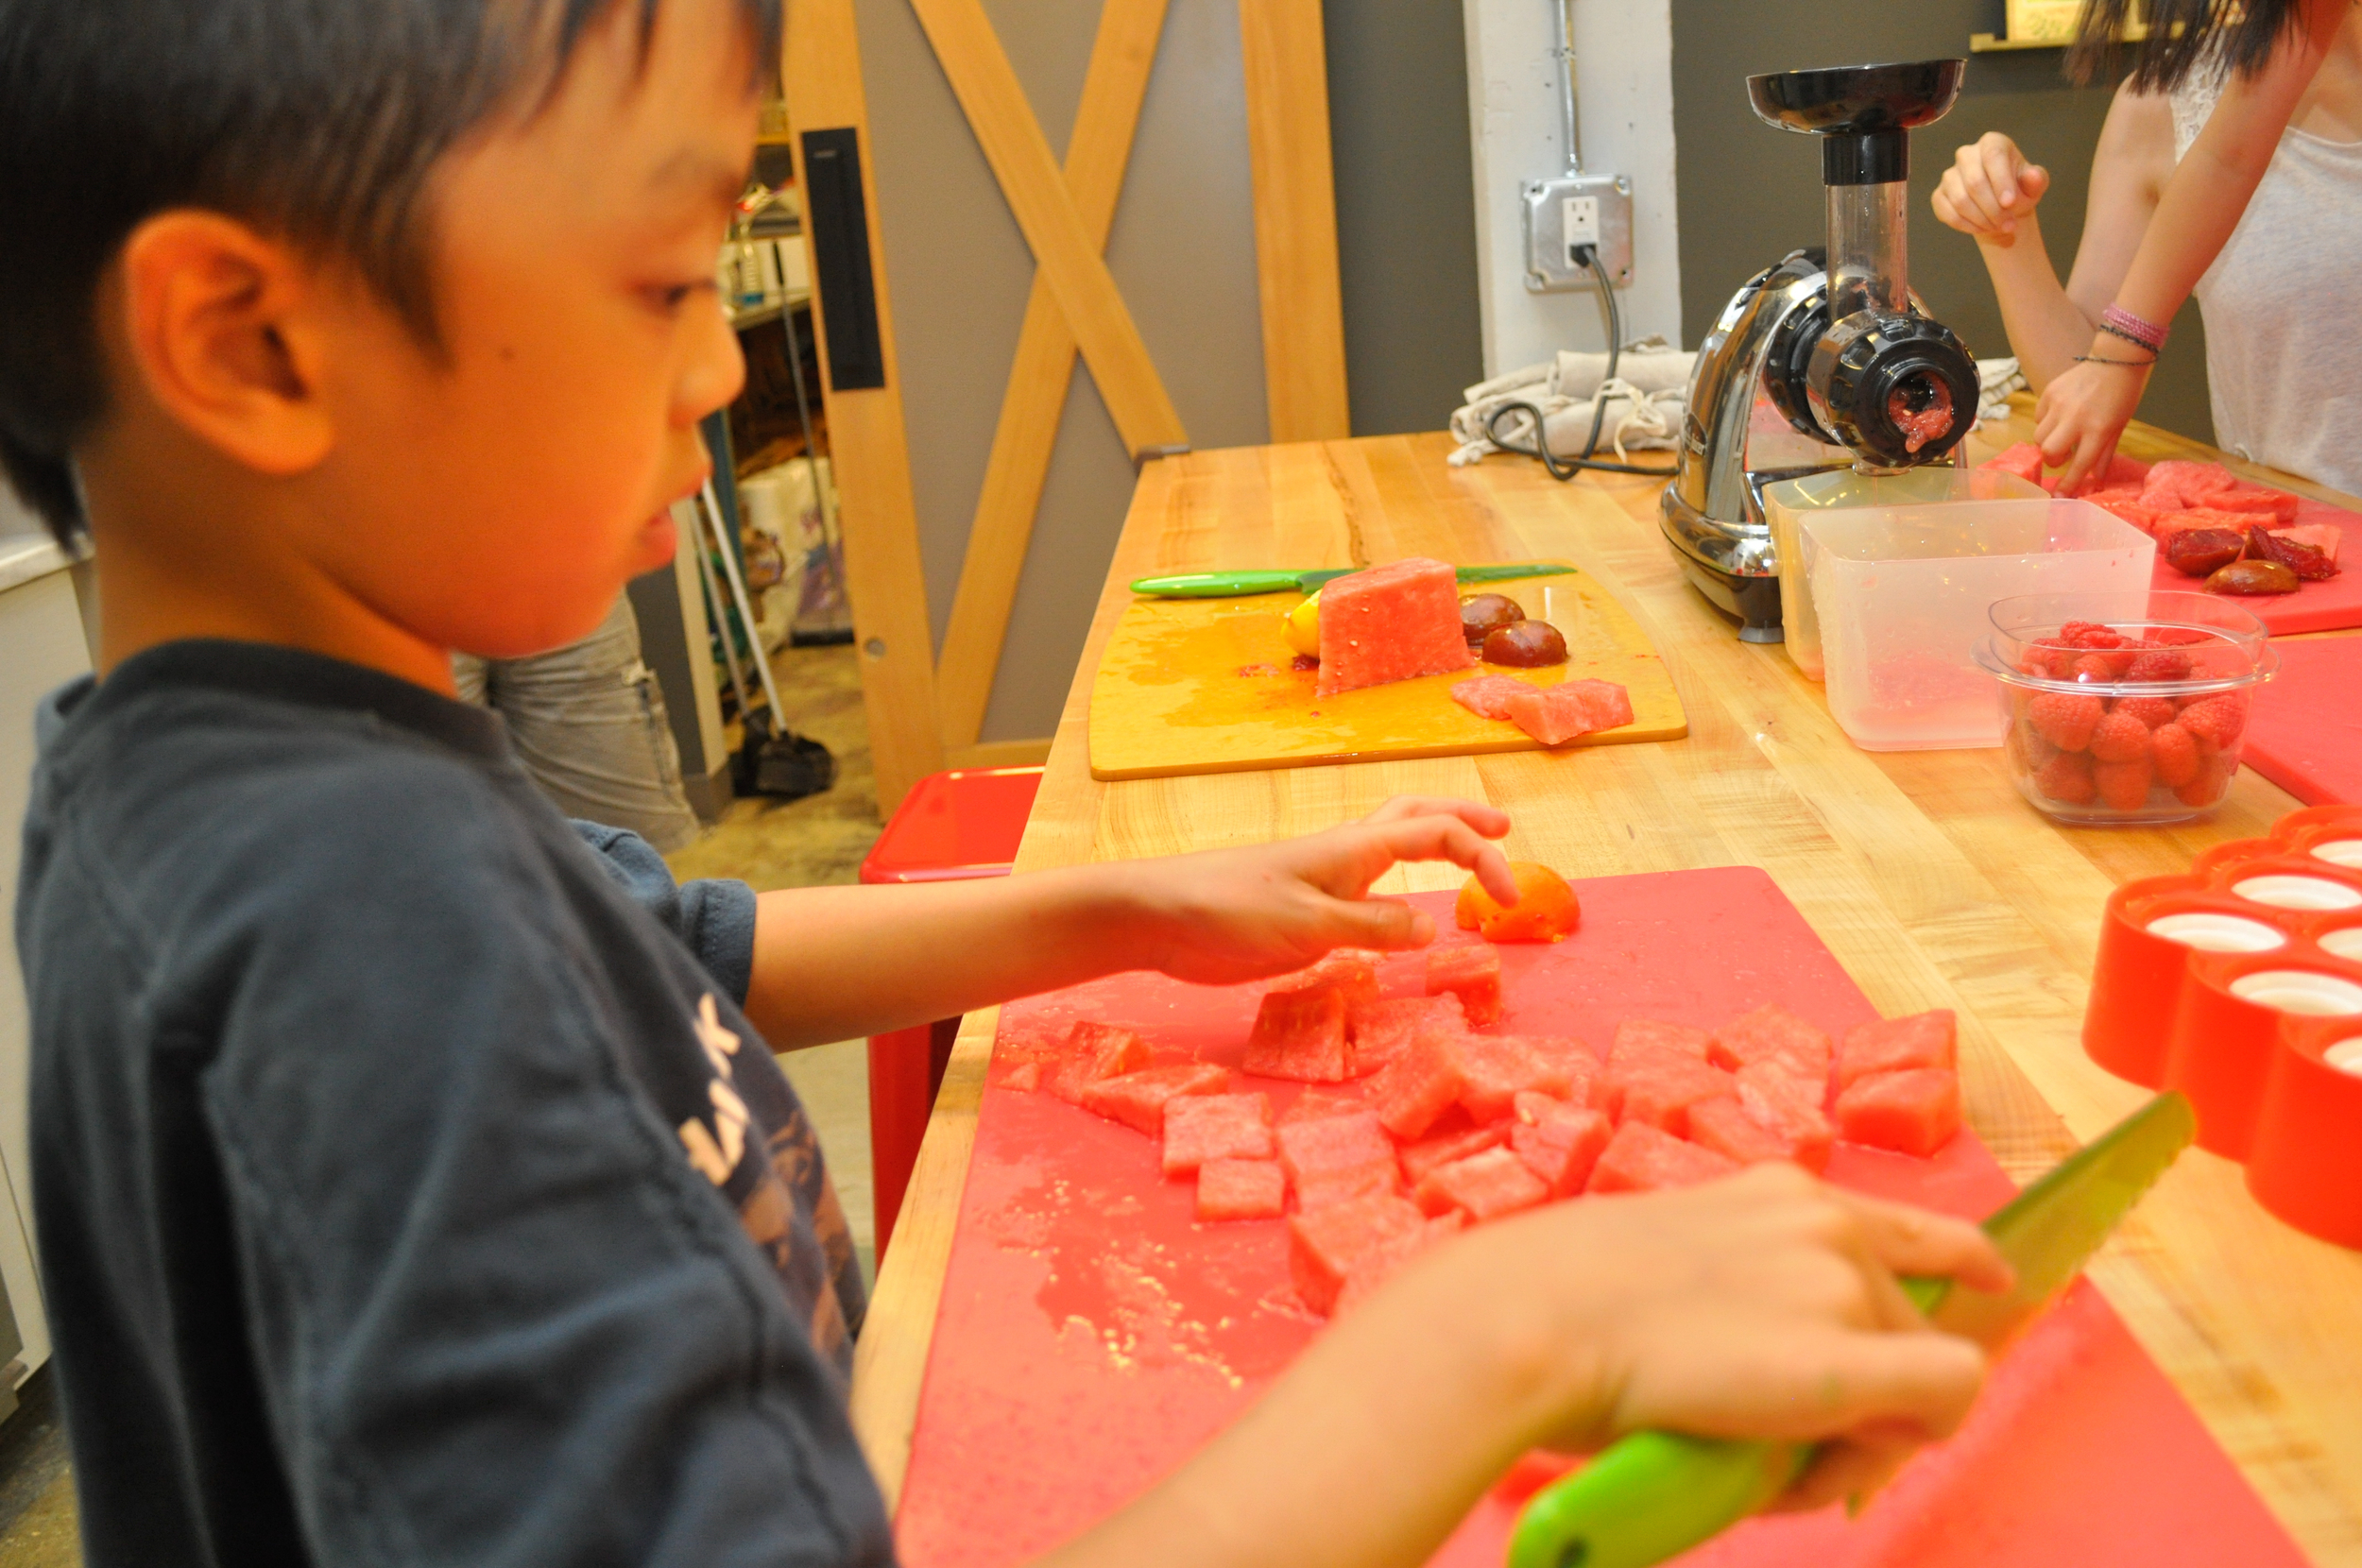
Then we juiced the fruit. (Blending would have been fine as well, but the juicer seemed like more fun!) The kids got the hang of plunging the fruit and in no time we had a big bowl of juice.
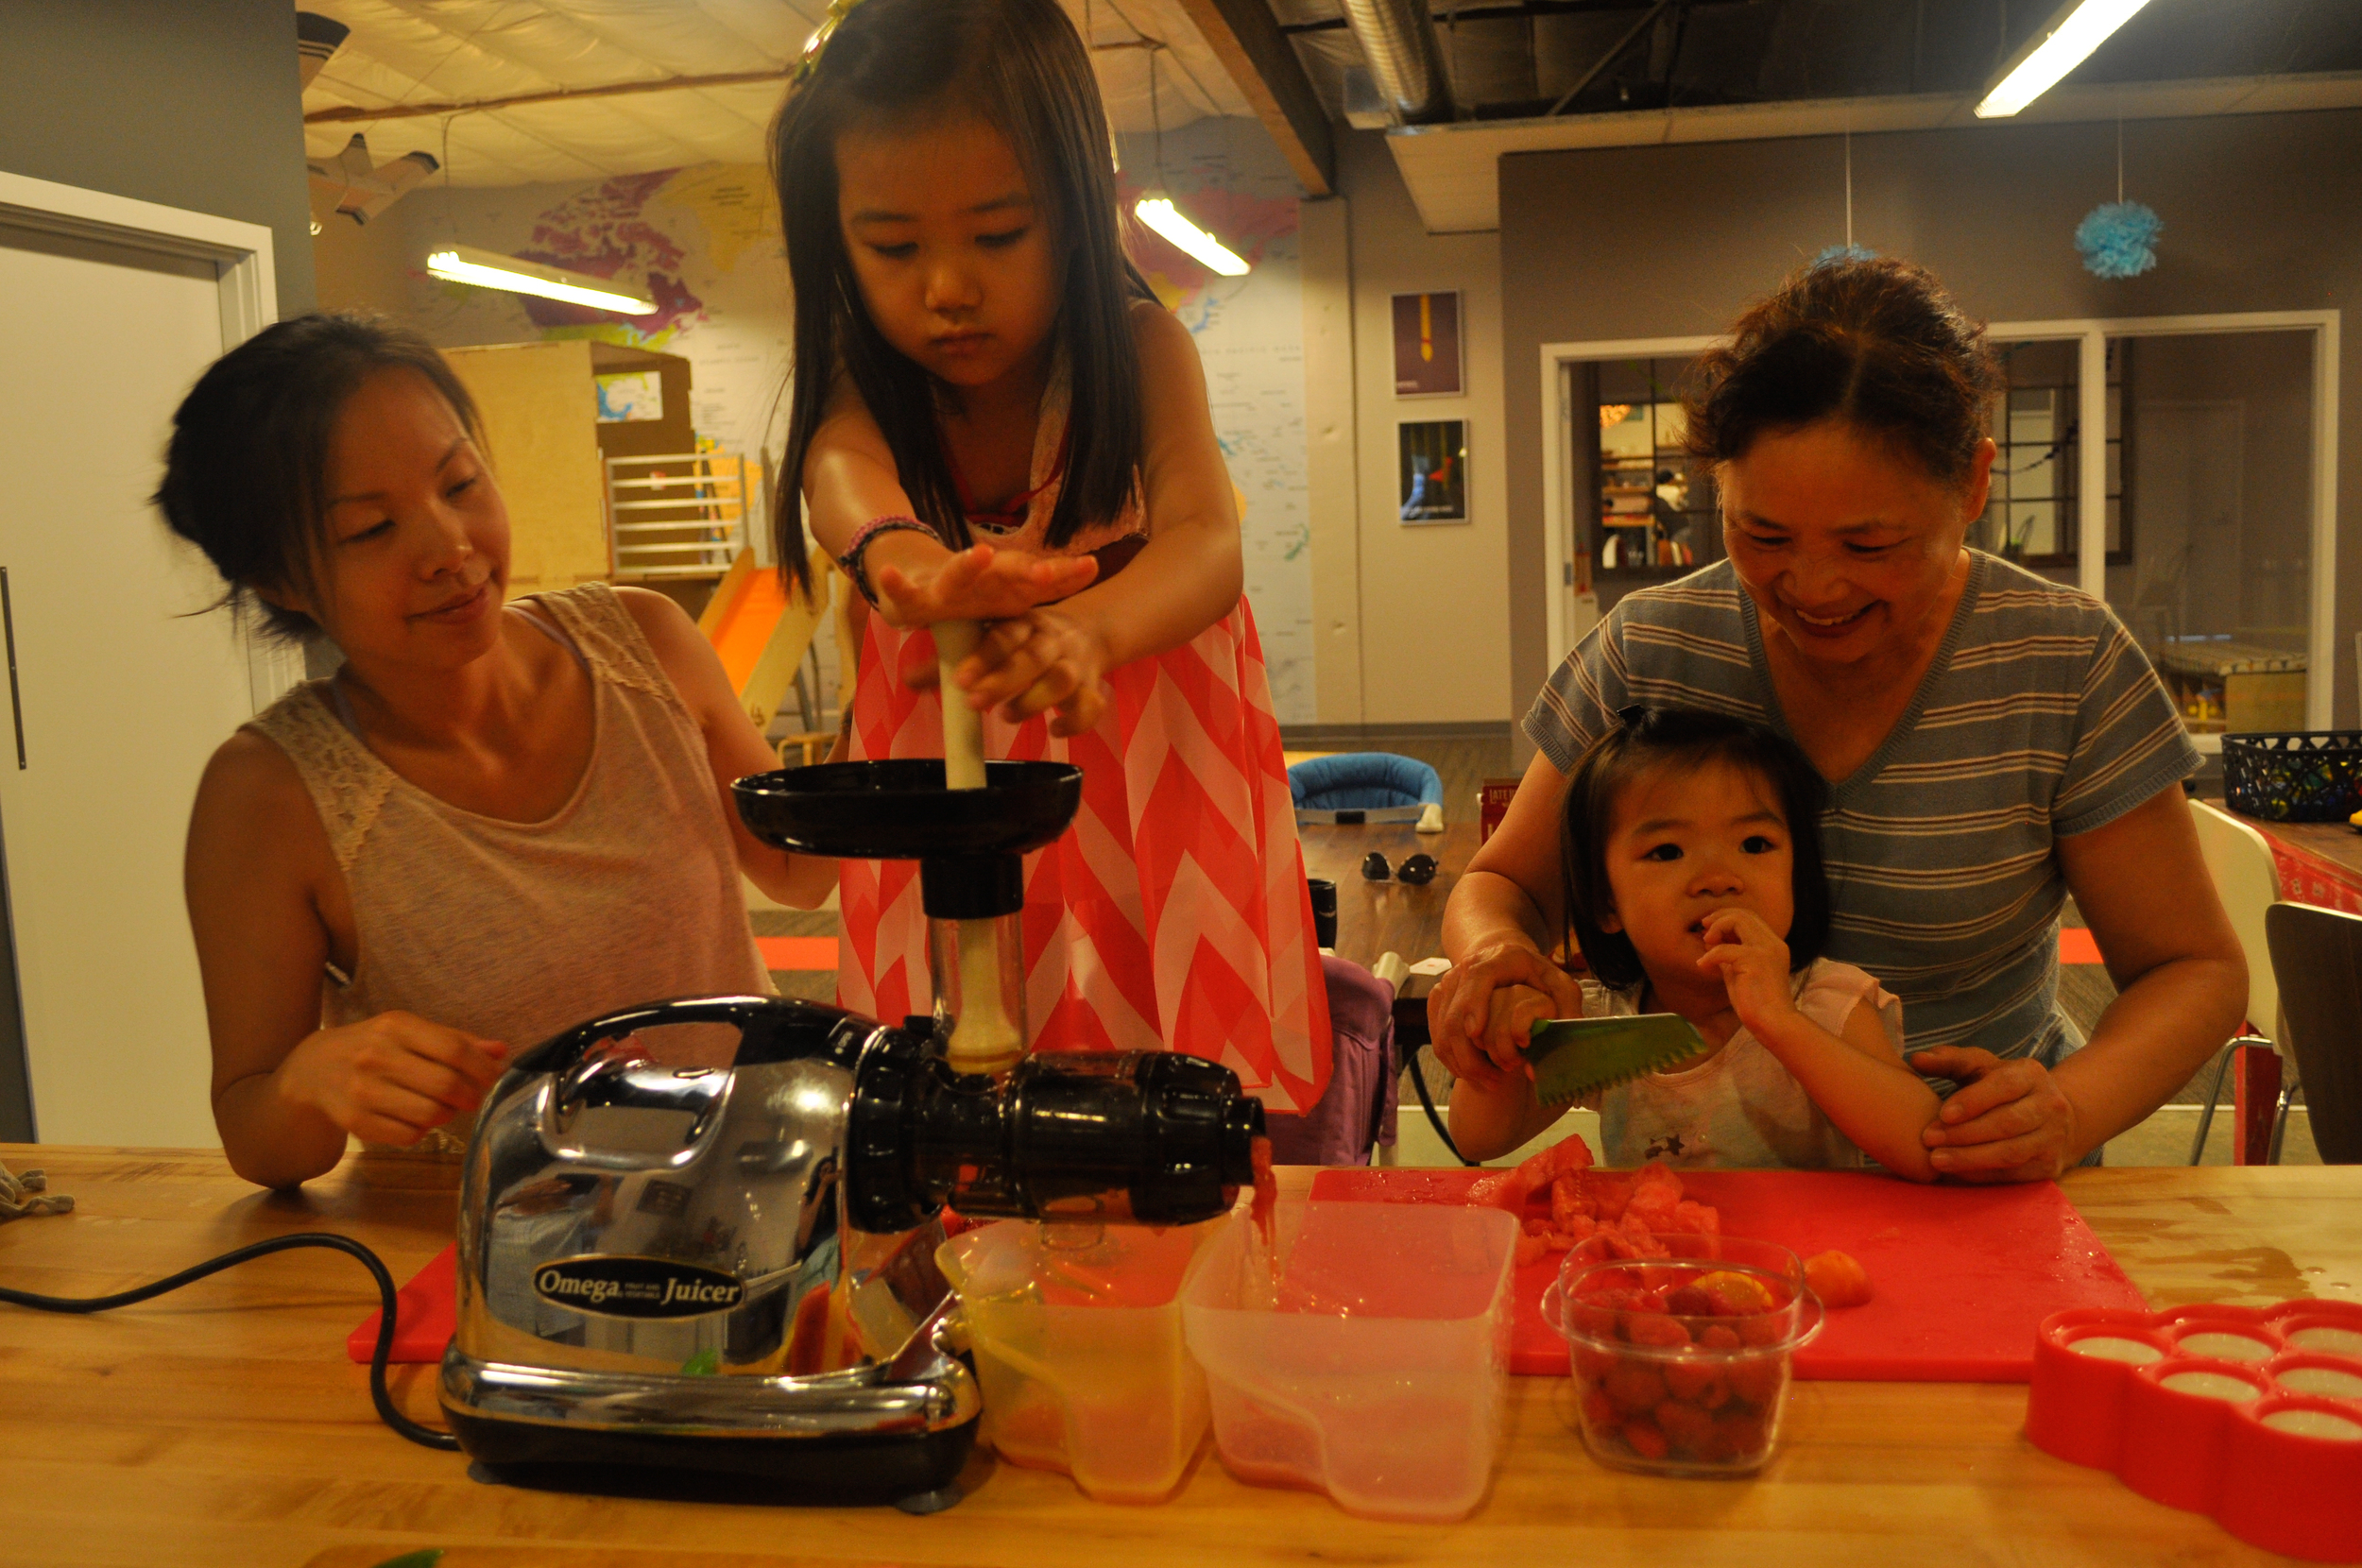
I made a few batches of popsicles ahead of time so no one had to wait.
The batch I made ahead had:
- watermelon
- raspberries
- canteloupe
- a sliver of lemon
- mint leaves
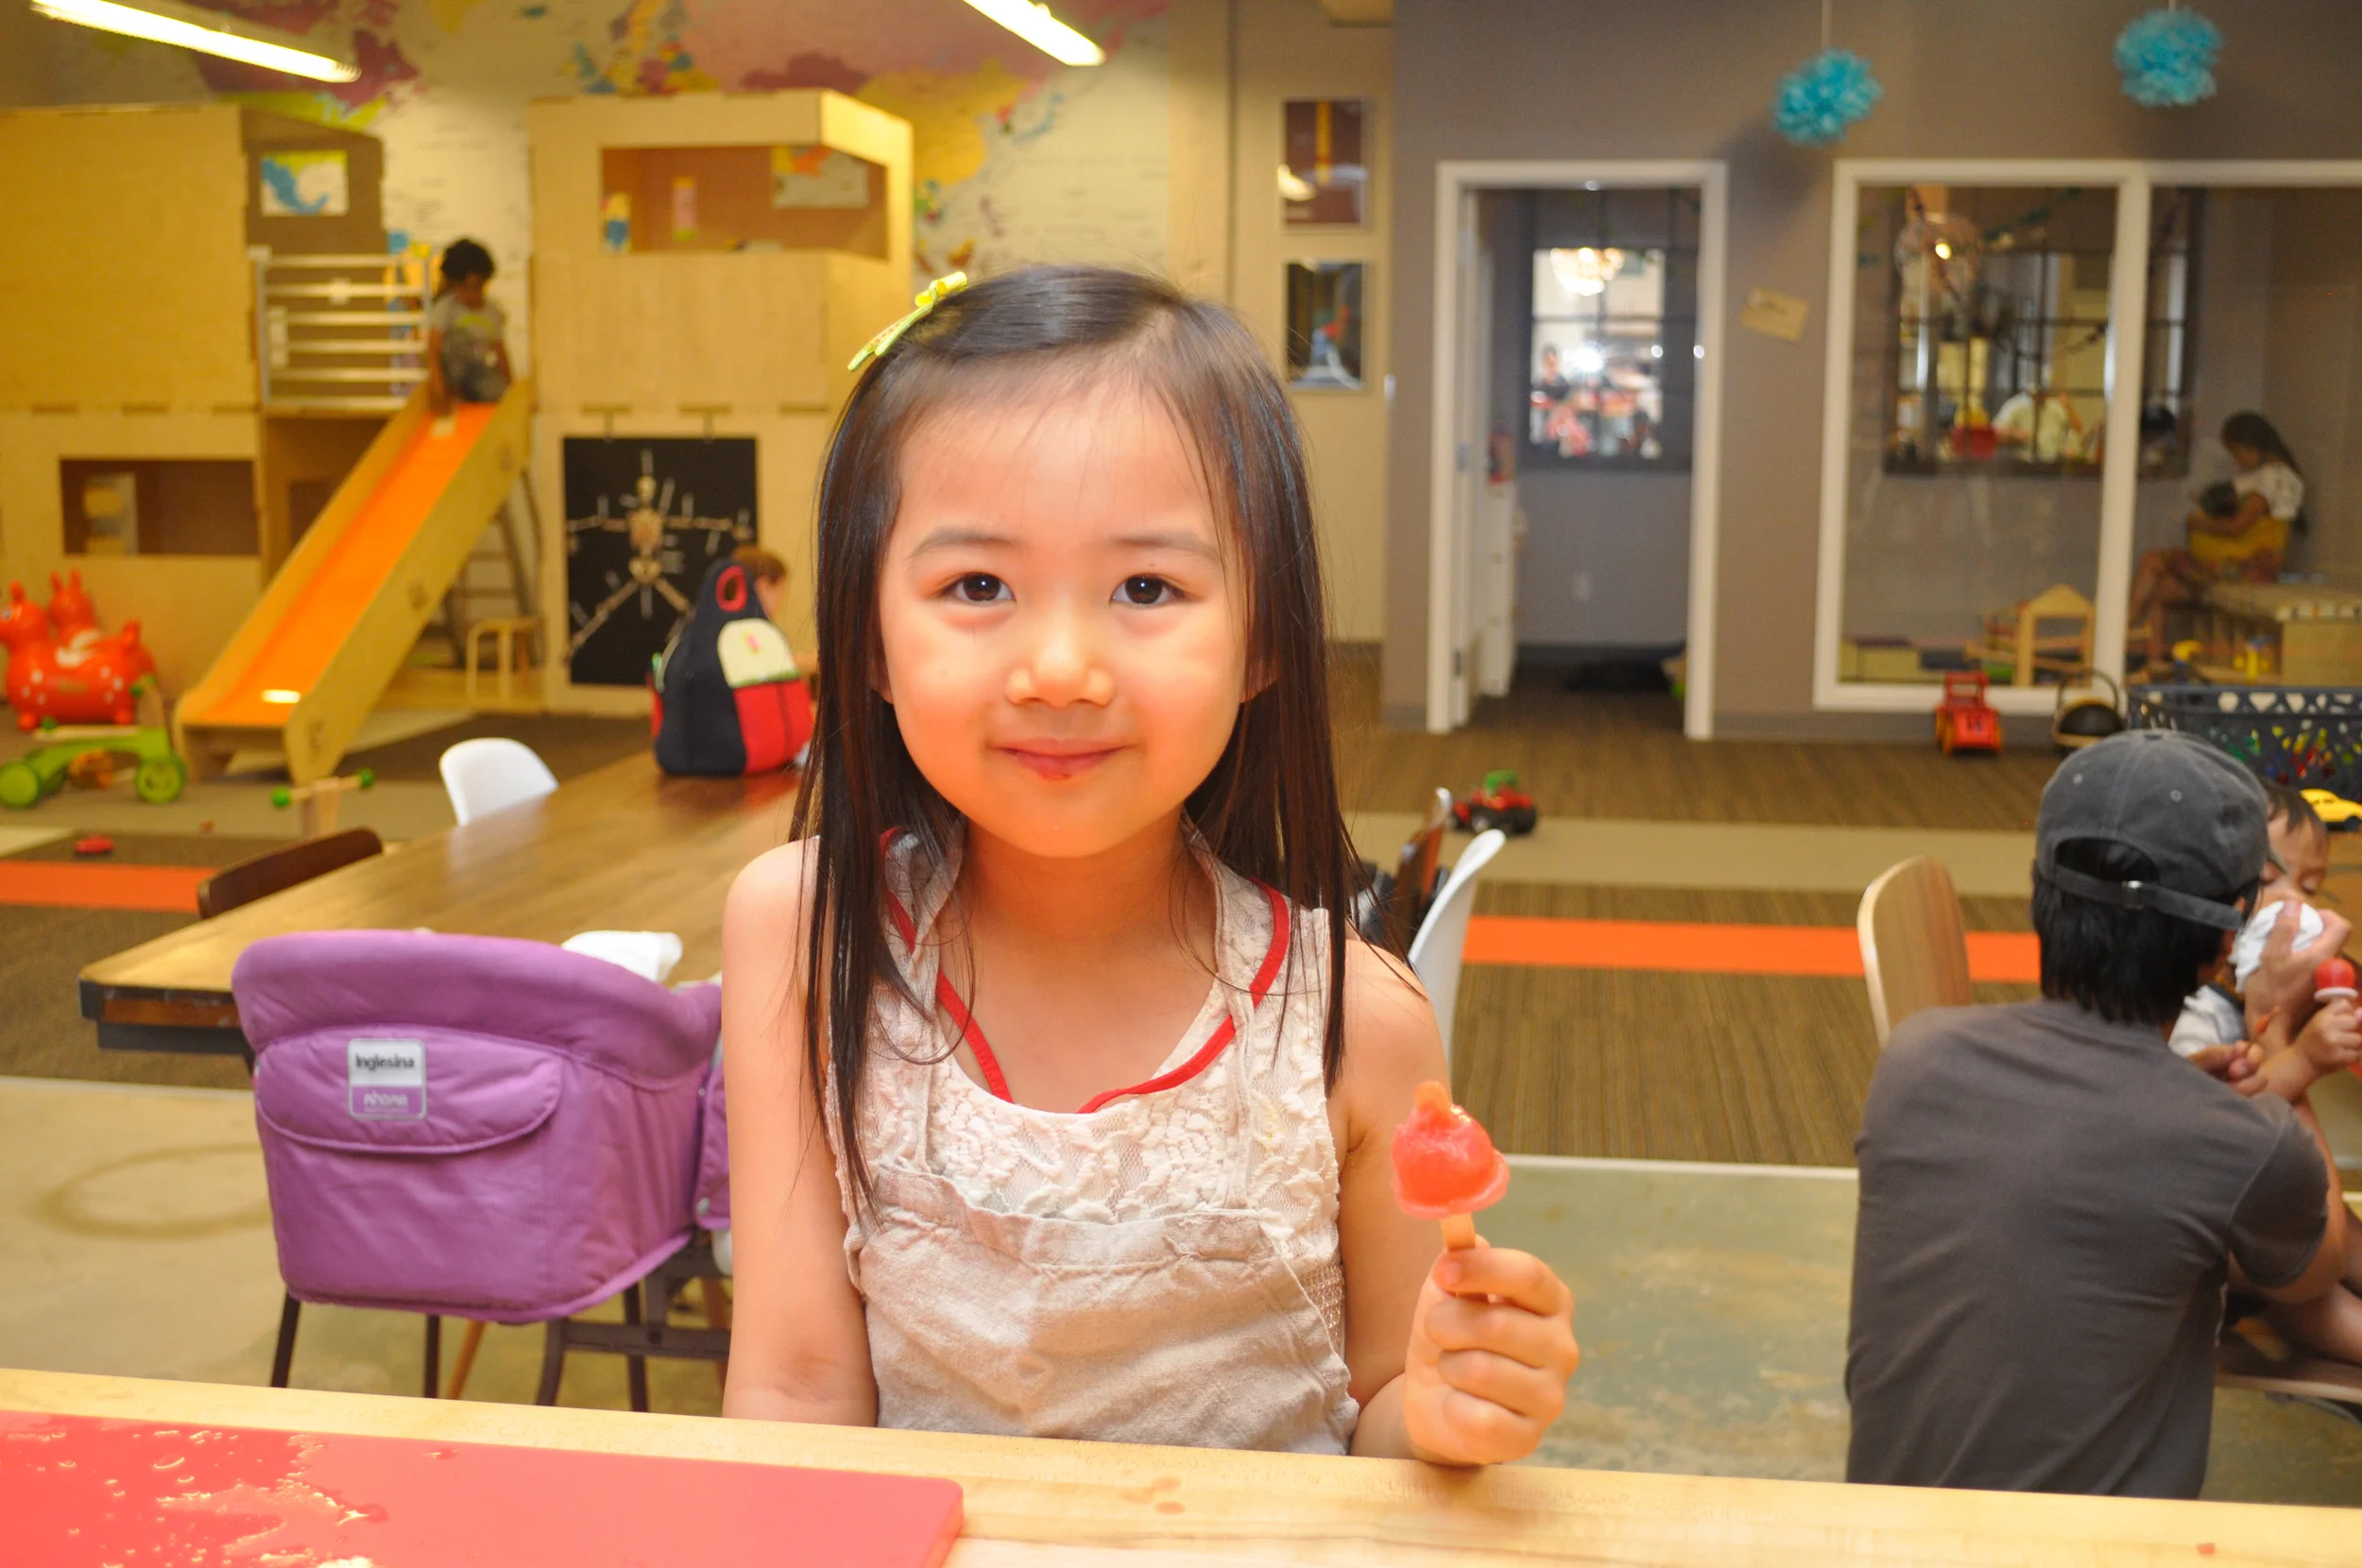
I always forget to ask someone to snap a photo of me in these classes. So it made my day when one of my little popsicle prodigies gave me this picture. I'm on the left and my juicer is on the right. Much better than anything I could have captured. :)

At home we use the mini zoku pop molds. I can't find the plastic handles separately so if you want to make a bunch ahead of time you can place regular wooden popsicle sticks in the form as the juice starts to freeze (about an 1 1/2 into the process).

A favorite combo for us is kale, banana and yogurt. What are your favorite popsicles to make?
Potstickers with Princesses
This week I had the privilege of making potstickers with two of my favorite three-year-olds, who didn't let fancy ballgown dresses slow them down at all. These lovely ladies are old hands at making these delicious dumplings and jumped right in as we cut the dough into pieces...

and then rolled and flattened them with my tortilla press.

The girls delicately wet the outside of the dough, filled and then folded the potstickers in half.

The filling was a mix of things I had in my fridge (tofu, kale, mushrooms and ginger) simmered in soy sauce and sesame oil.

We steamed and them gulped them down.

Our dumpling recipe was by Andrea Nguyen and can be found here. Our recipe was loosely based off her Steamed Vegetable Dumpling in my favorite dumpling cookbook: Asian Dumplings.
Pan Bagnat (aka Squished Nicoise Sandwich)
One thing you should know about me, I LOVE Saturday morning radio. Not just any radio...national public radio. I clean my house and listen to my favorite shows...Car Talk, Wait, Wait, Don't Tell Me, This American Life, Radio Lab...and The Splendid Table.
A few months (years?) ago, a guest described a sandwich her mom used to make in Italy. The sandwich was called Pan Bagnat and involved layering nicoise salad type ingredients in a french baguette. The guest remembered she and her sister would take turns sitting on it in the car on the way to the beach.
The story and the way she described this magical meal stuck somewhere in the back of my brain. So when one of my friends called and asked if I could put together a 16th anniversary picnic as a surprise dinner for a romantic beach getaway, it popped back into my head.
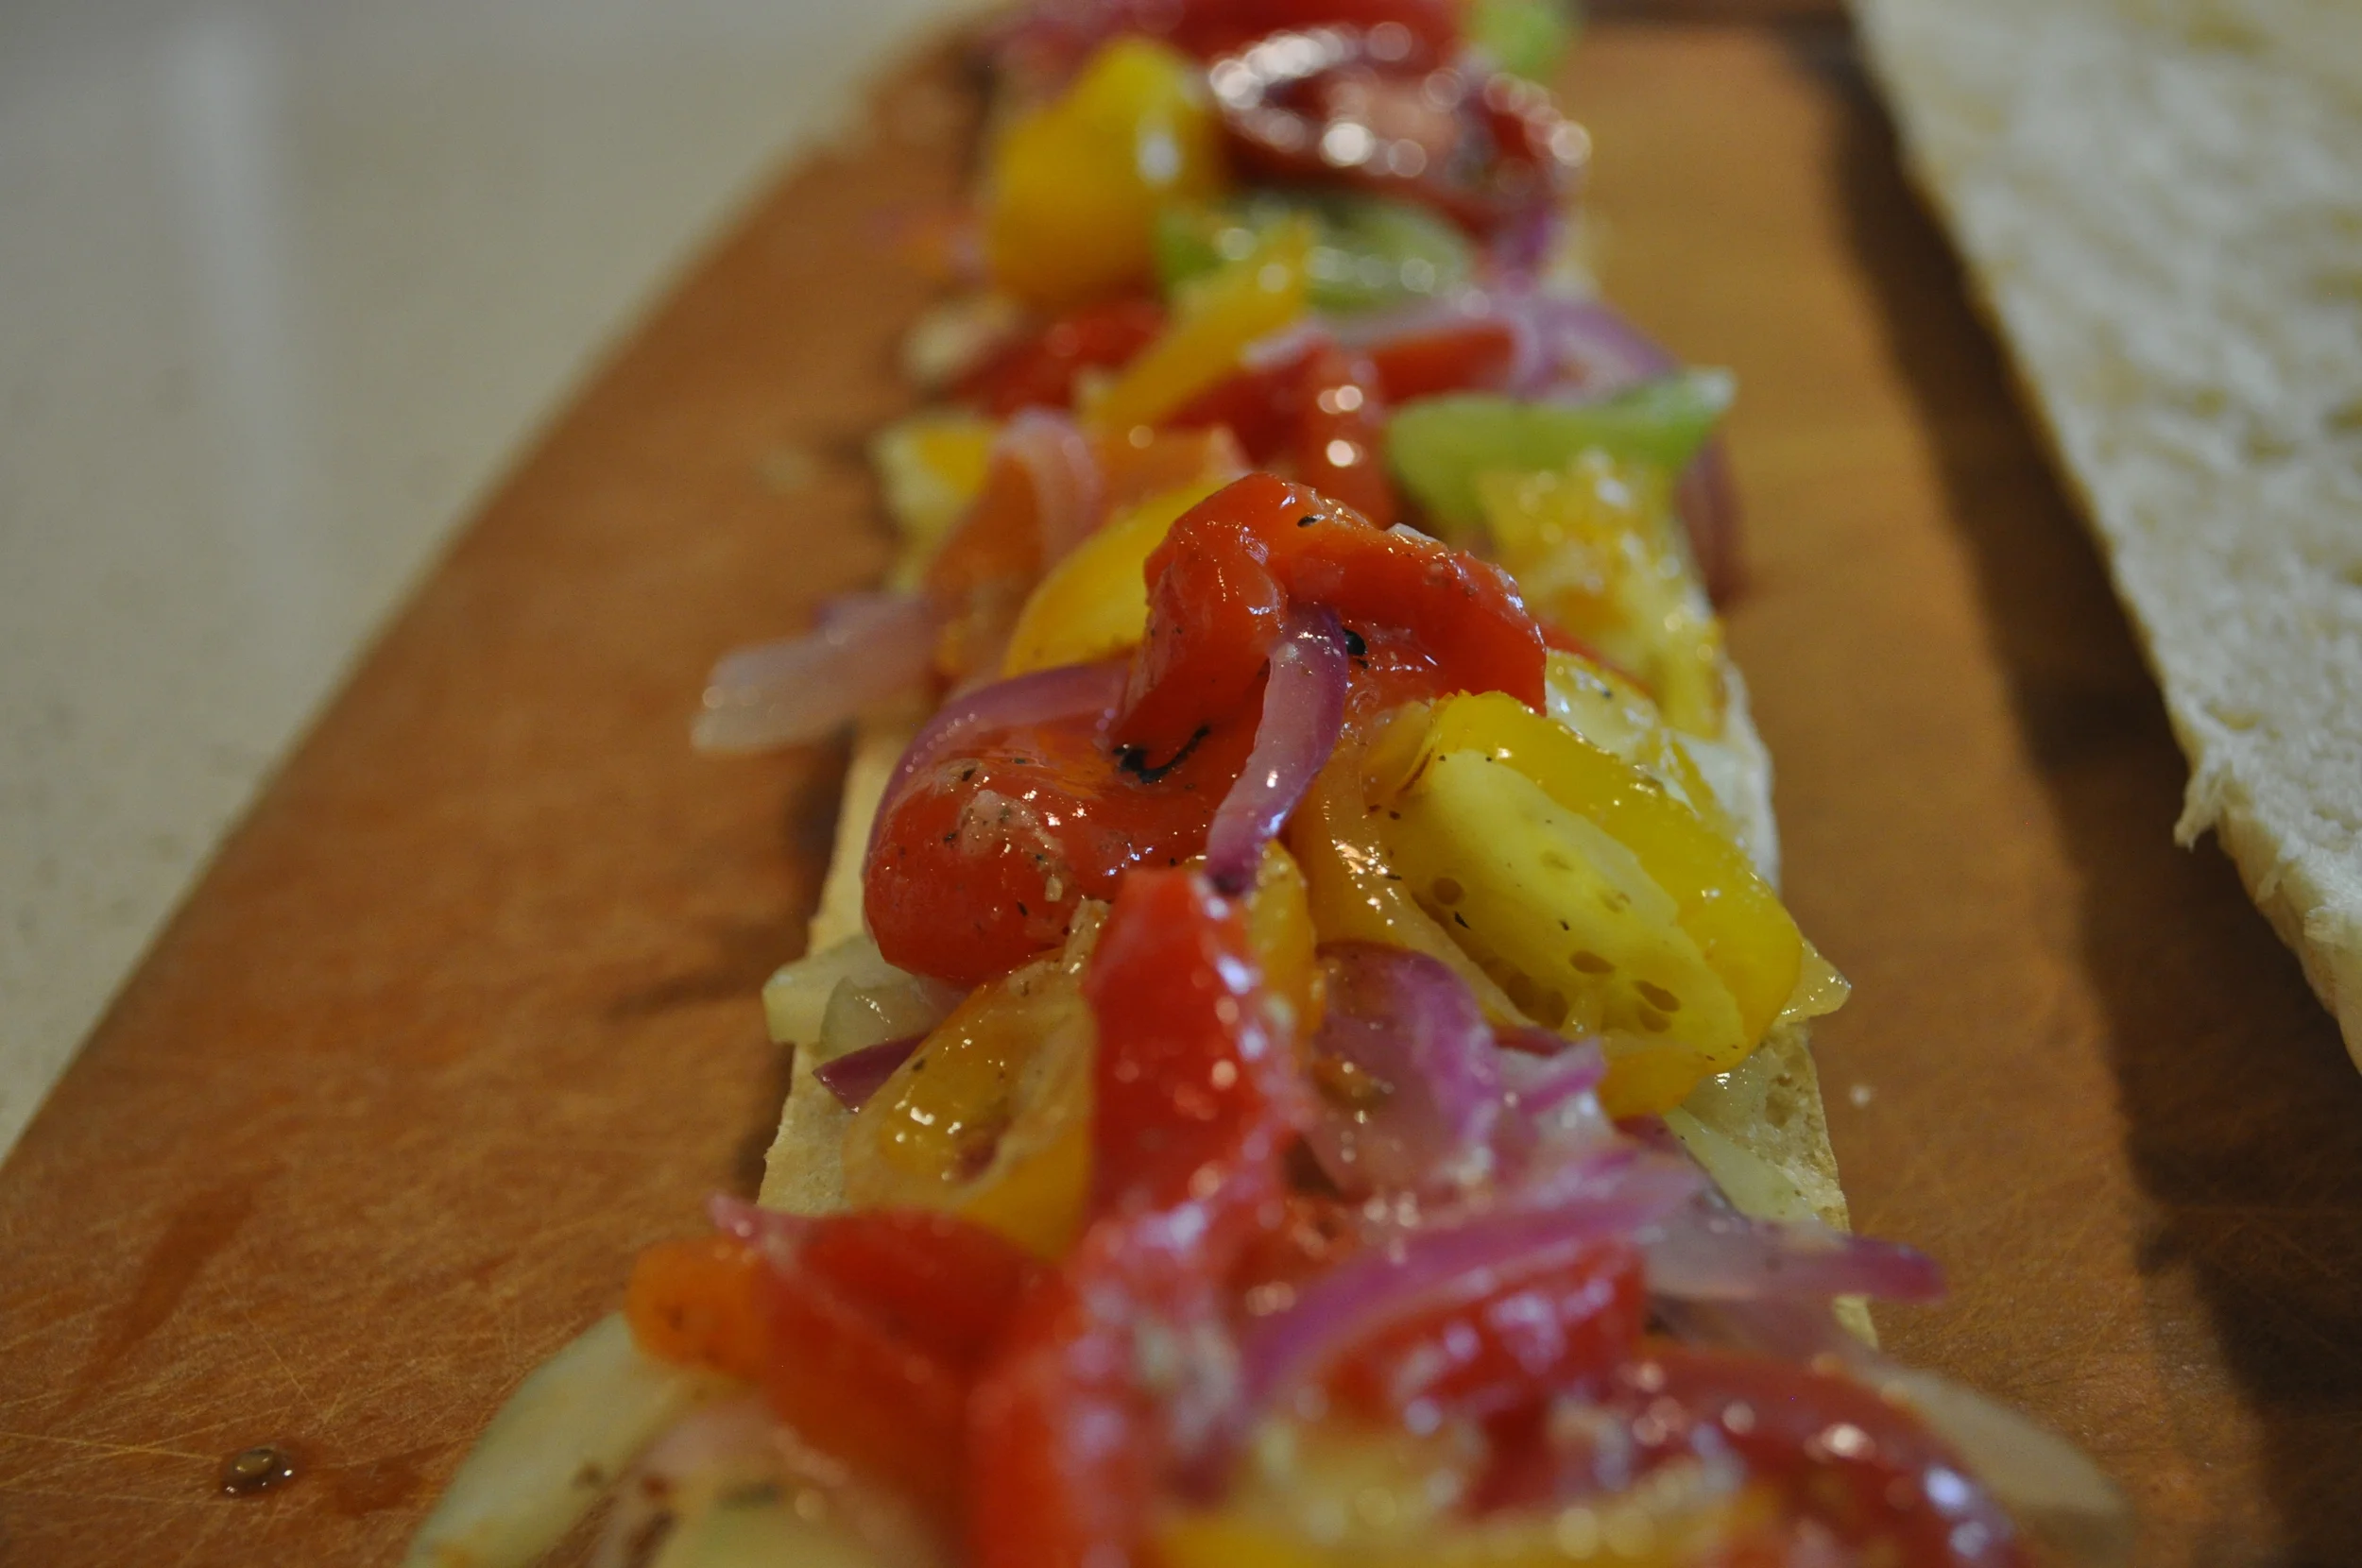
I borrowed from these sources, but really just had fun with it:

Zoey was more than happy to provide some weight to the whole experience and found sitting on a sandwich very amusing.

The basket was complete with crackers, local cheese, truffled marcona almonds, figs dipped in chocolate, homemade blueberry cobbler in a jar, olives and wine. As we were present for the wedding of these special friends, it was an honor to be included in their celebratory day!

Pan Bagnat
Dressing:
1/2 teaspoon anchovy paste (optional)
1 garlic clove, minced
1 teaspoon sherry vinegar (or other red vinegar)
1 teaspoon Dijon mustard
Pinch of salt and freshly ground pepper
1 tablespoon extra virgin olive oil
Sandwich:
1 baguette
1/2 regular cucumber, seeds removed, sliced thinly
1 medium-size, ripe tomato, sliced thinly
1/2 small red onion, sliced an blanched
1 jar (5 to 6 ounces) tuna packed in olive oil, drained
8 large basil leaves
2 tablespoons sliced pitted olives
1 hard-cooked egg, thinly sliced
Baby lettuce leaves, optional
Dressing:
In a small bowl, whisk together the anchovies, the garlic, vinegar, mustard, salt and pepper. Slowly drizzle in oil, whisking constantly. Add sliced cucumbers to vinaigrette and mix.
Sandwich:
1. Cut baguette in half horizontally.
2. Spread half the cucumbers on bottom of bread. Top with tomato and onion slices, then with tuna, basil, olives and egg slices. Top egg with remaining cucumbers and vinaigrette. Cover with second bread half and firmly press sandwich together.
3. Wrap sandwich tightly in foil, waxed paper or plastic wrap, then place in a plastic bag. Put sandwich under a weight such as a cast-iron frying pan topped with a filled kettle, or have a child about 7 years old sit on it. Weight sandwich for 7 to 10 minutes, then flip and weight it for another 7 to 10 minutes (or as long as you can get the child to sit still). Unwrap, slice and serve immediately, or keep it wrapped for up to 8 hours before serving.
Recipe inspired by A Good Appetite: Lunch Recipe: Take One 7-Year-Old in The New York Times by Melissa Clark.
Kid's Pasta Class @ Romp
Last week I had the privilege of working with a lively group of 12-years in Romp's kitchen.
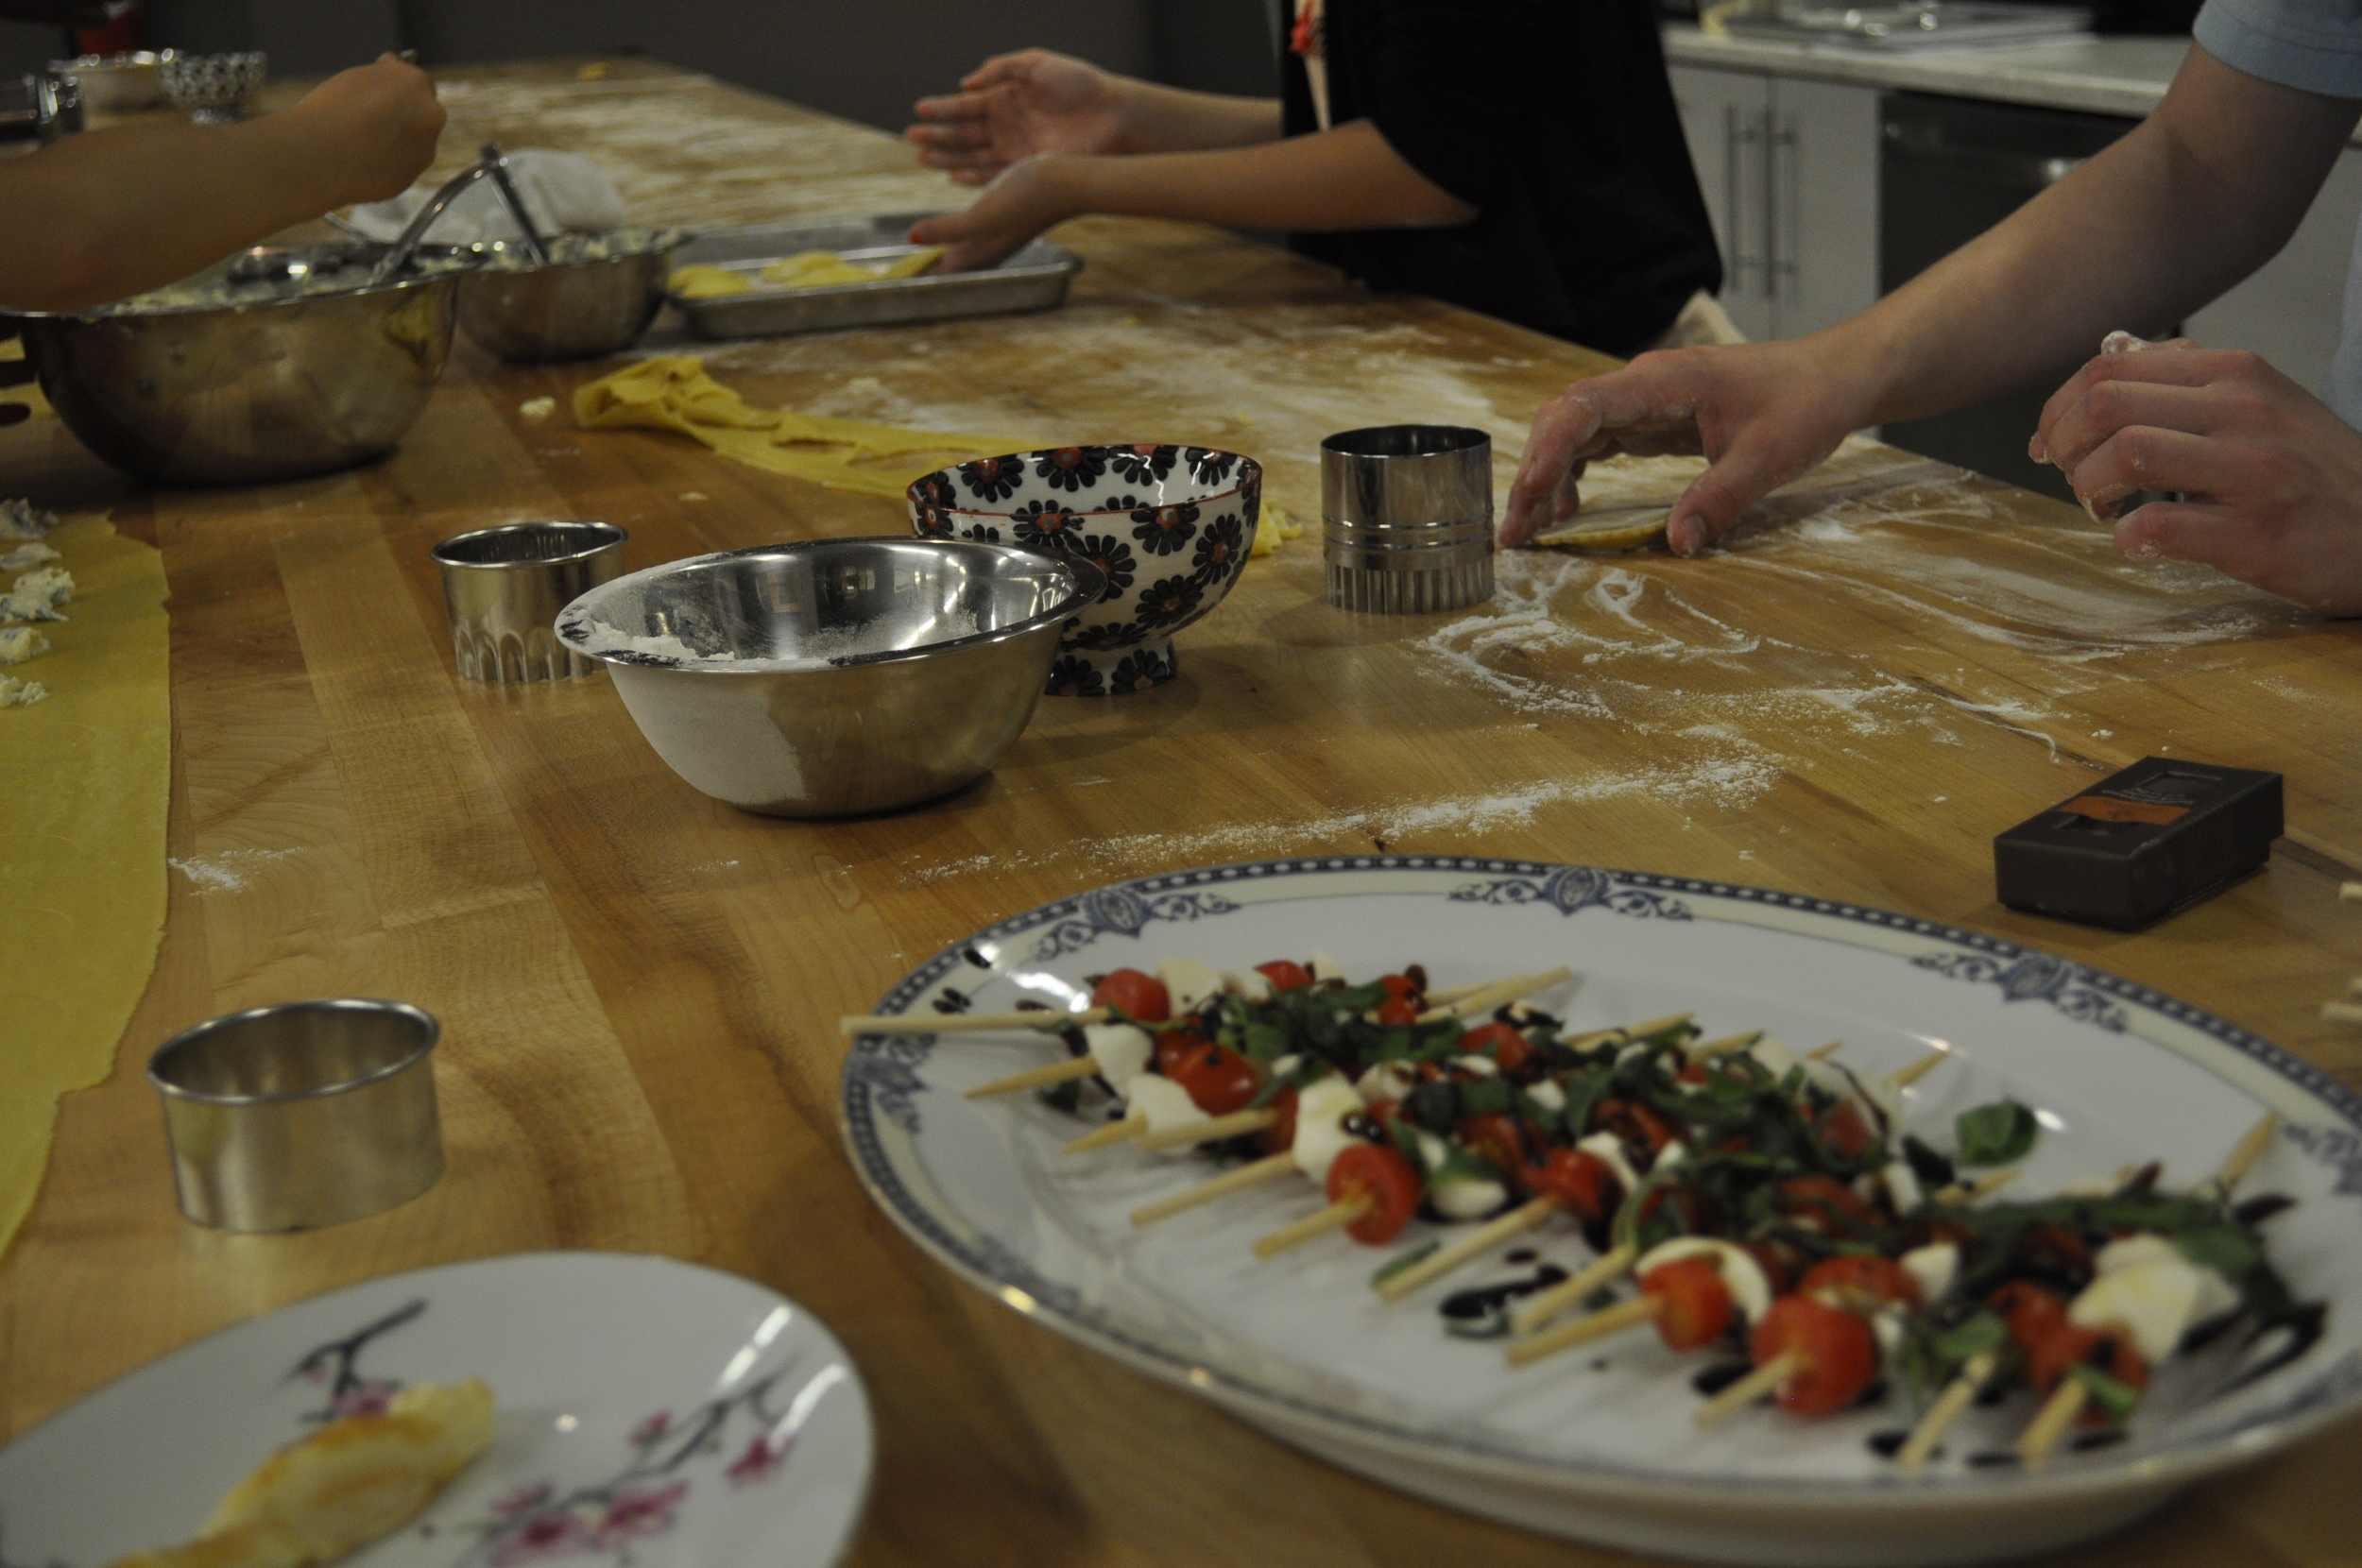
Caprese Bites
The Italian menu included puff-pastry cheese twists, caprese bites, cheese filled ravioli and butterscotch pudding.
The kids had a lot of fun rolling out dough and making ravioli. One group decided they would rather go off script and make a linguine in butter sauce, which turned out beautifully.
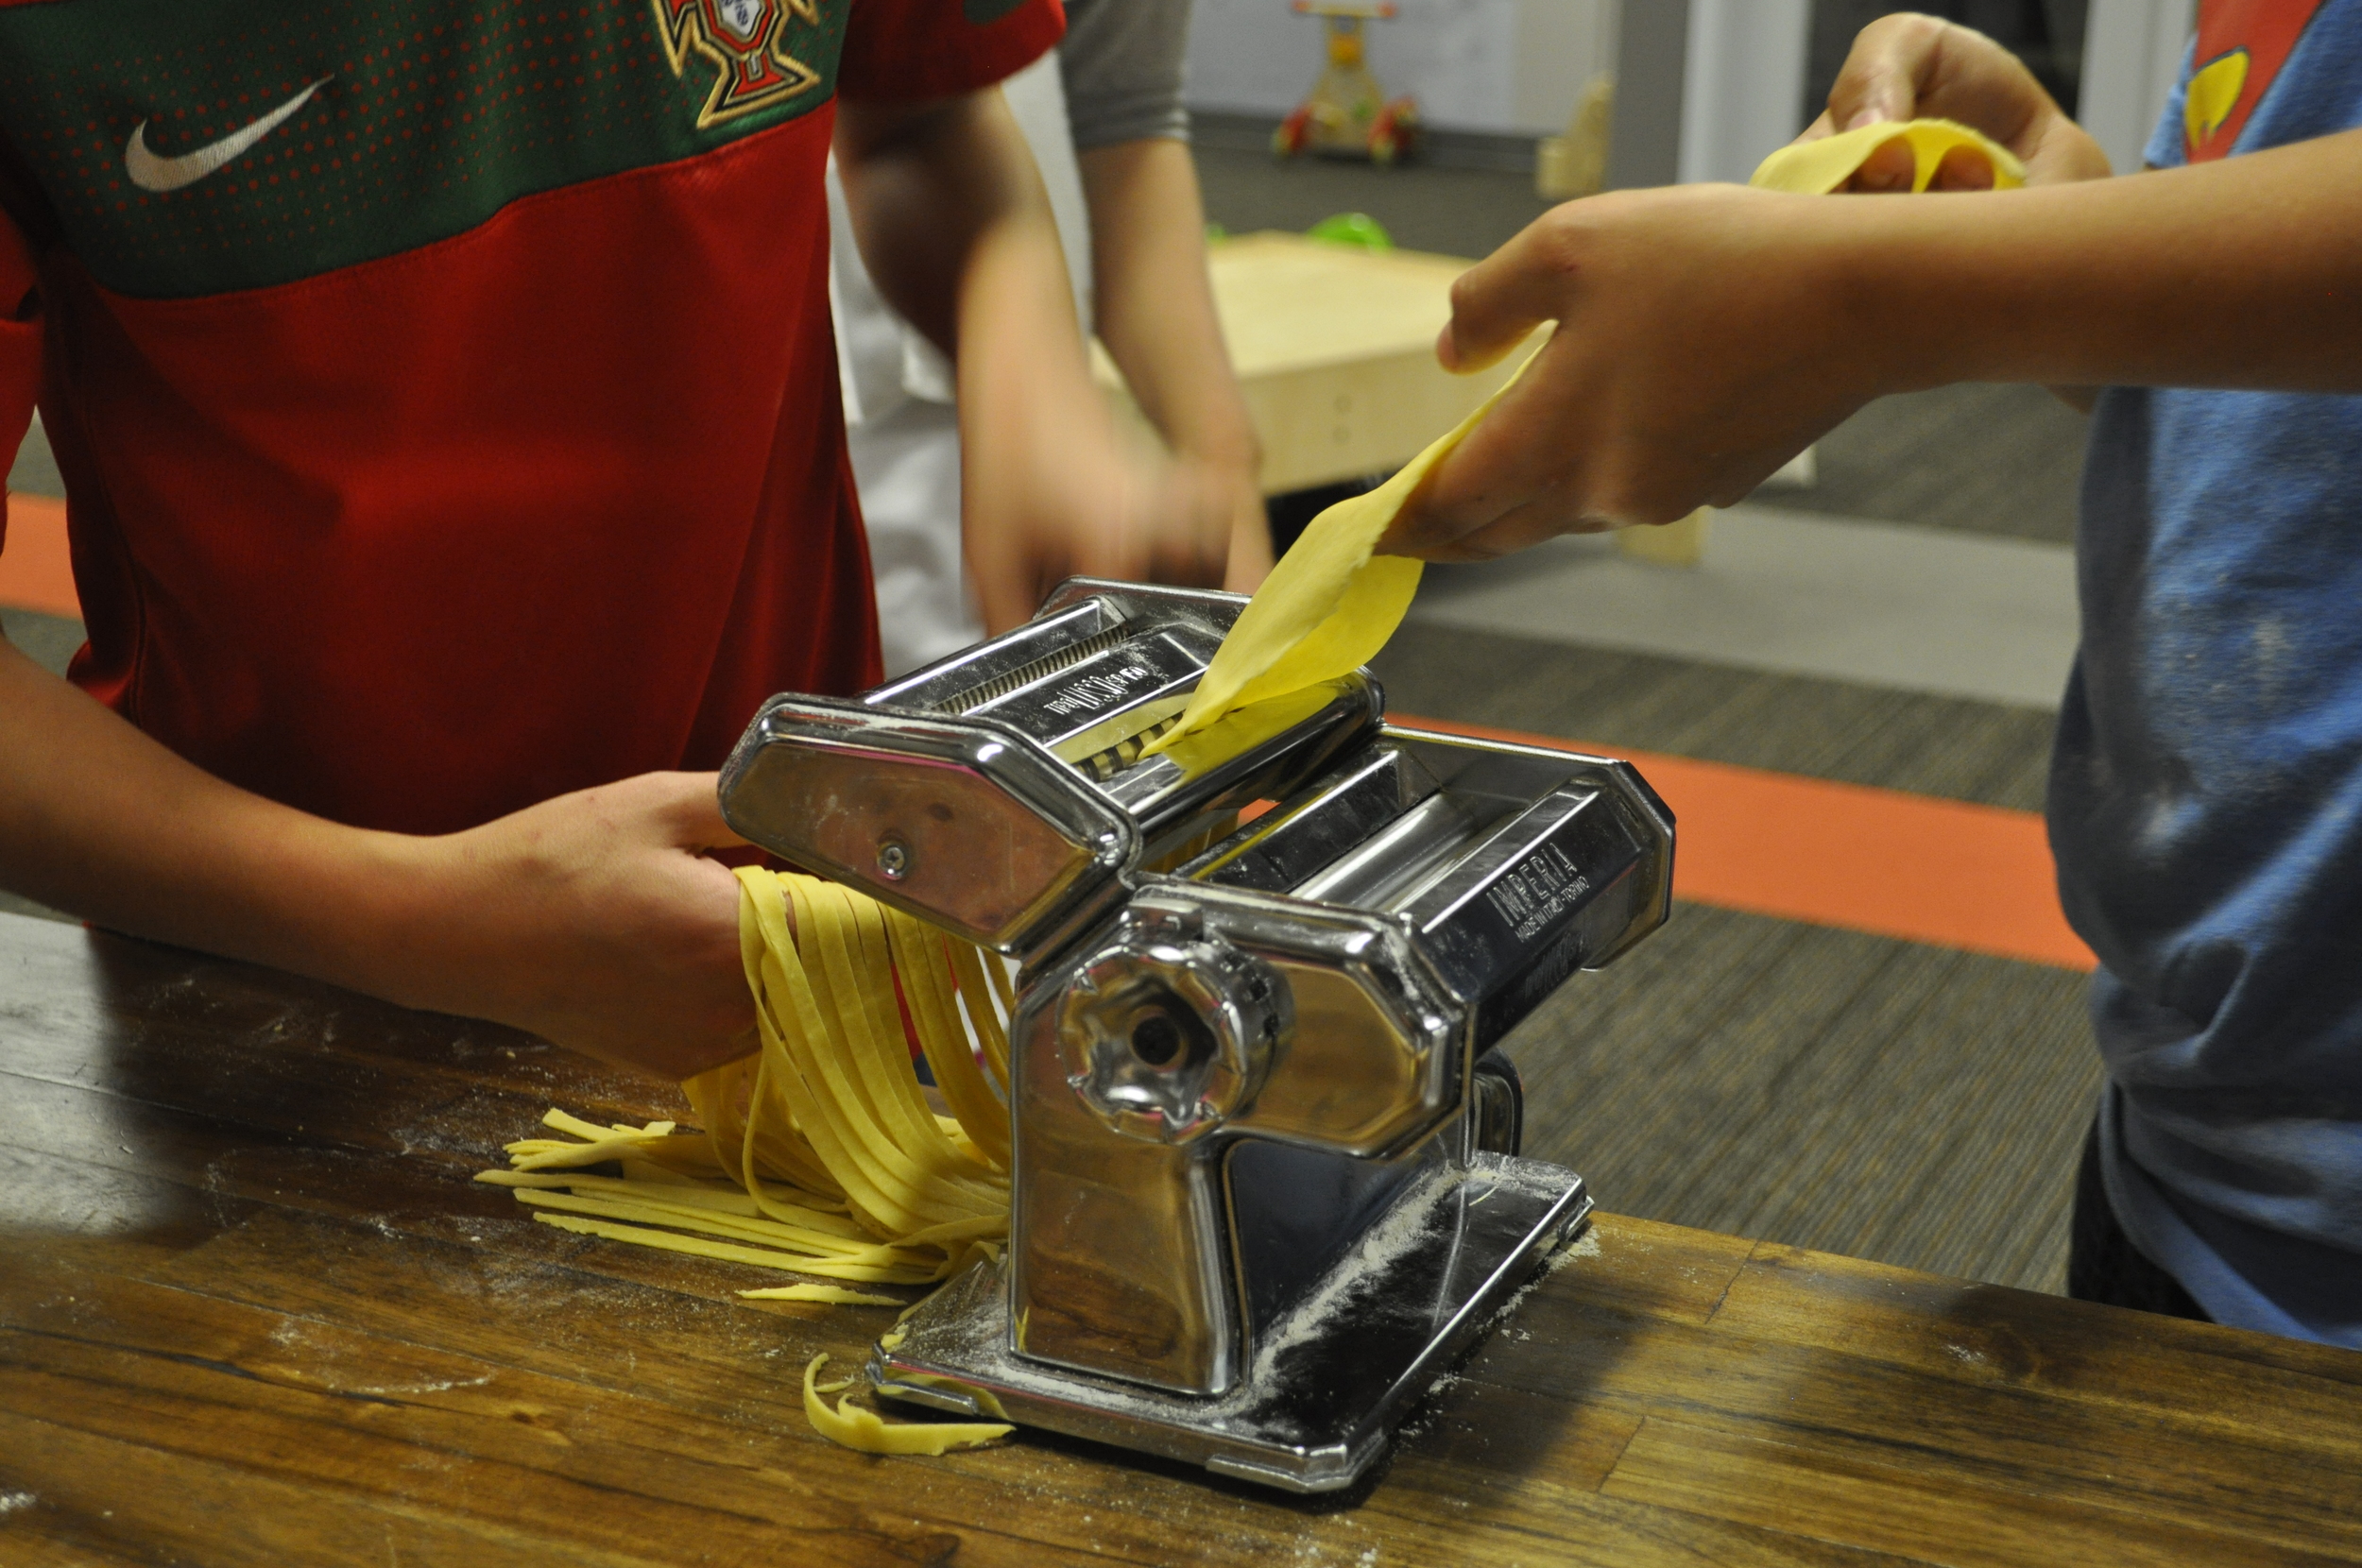
Pasta from Scratch
Completely stolen from Marcus Samuelson, this butterscotch pudding recipe has been a favorite in our house for the last year:
1/2 cup (4 oz) packed dark brown sugar
2 tbsp + 2 tsp cornstarch
1/4 tsp salt
1 1/2 cup whole milk
1/2 cup heavy cream
2 tbsp (1 oz) unsalted butter, cut into bits
1 tsp vanilla
Directions
1. Whisk together sugar, cornstarch, salt, milk and cream. Bring to boil over medium heat.
2. Boil, whisking for one minute.
3. Remove from heat.
4. Whisk in butter and vanilla.
5. Pour into bowl and press saran wrap against pudding. Chill in fridge (or freezer if you are in a hurry).
I like to serve this with whipped cream and crushed ginger cookies.
Saäm for me...and saäm for you
I have a great collection of cookbooks, but unless I am baking, I generally only use them as inspiration. There are a few exceptions to this, and one is the reason for this post. When trying a completely new type of cuisine, especially one I have never tasted, I find a great source and follow the recipes with only minor deviations.
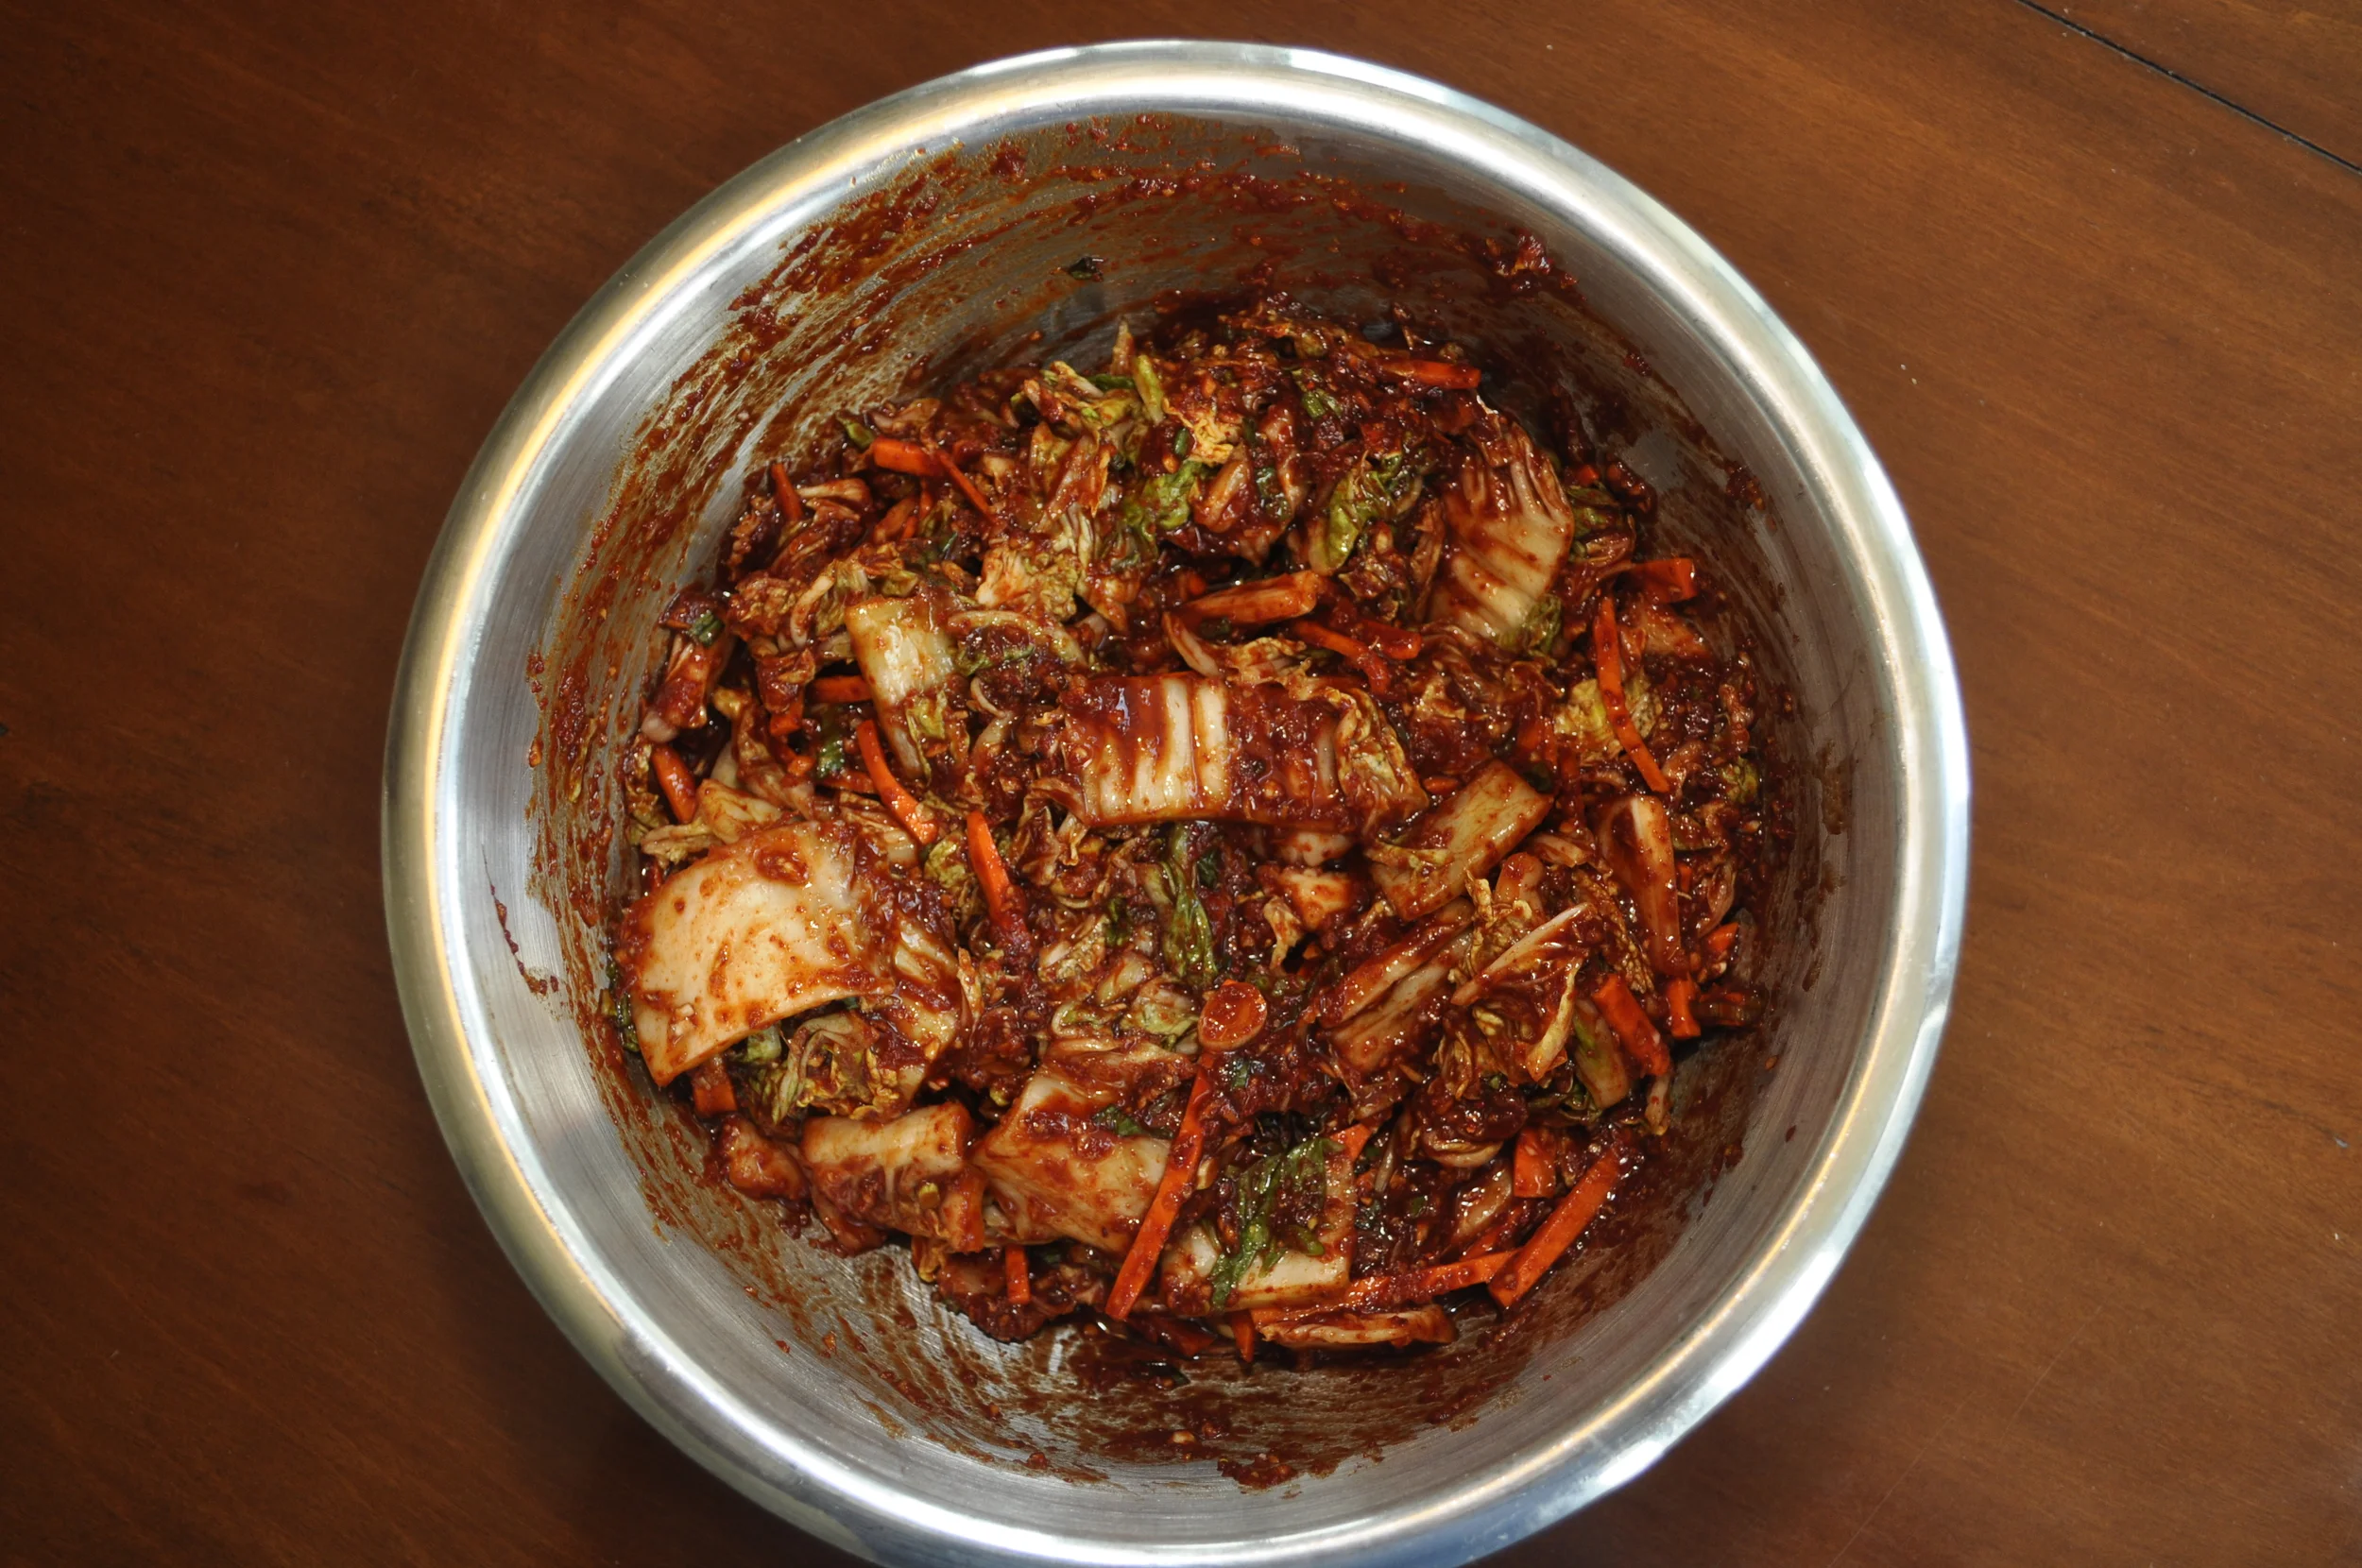
Kimchee
This week I decided to try my hand at a recipe called Bo Saäm from Momofuku, one of my favorite cookbooks. (Without intending to, I think I have made almost every recipe in this book. Though be warned, the language in the book is not for the faint of heart.)

Saäm
Saäm (meaning wrapped) is the Korean relative of the Chinese lettuce cup. Our version was bibb lettuce wrapped around sweet and salty pulled pork, raw oysters, sushi rice, homemade kimchee and a few sauces. A fun and extremely messy meal...I loved marrying the briny oysters with the sweet pork and zesty kimchee. I'm already itching to try a few different variations!
Siete de Mayo
Today we celebrated Cinco de Mayo at Romp with the making of quesadillas.
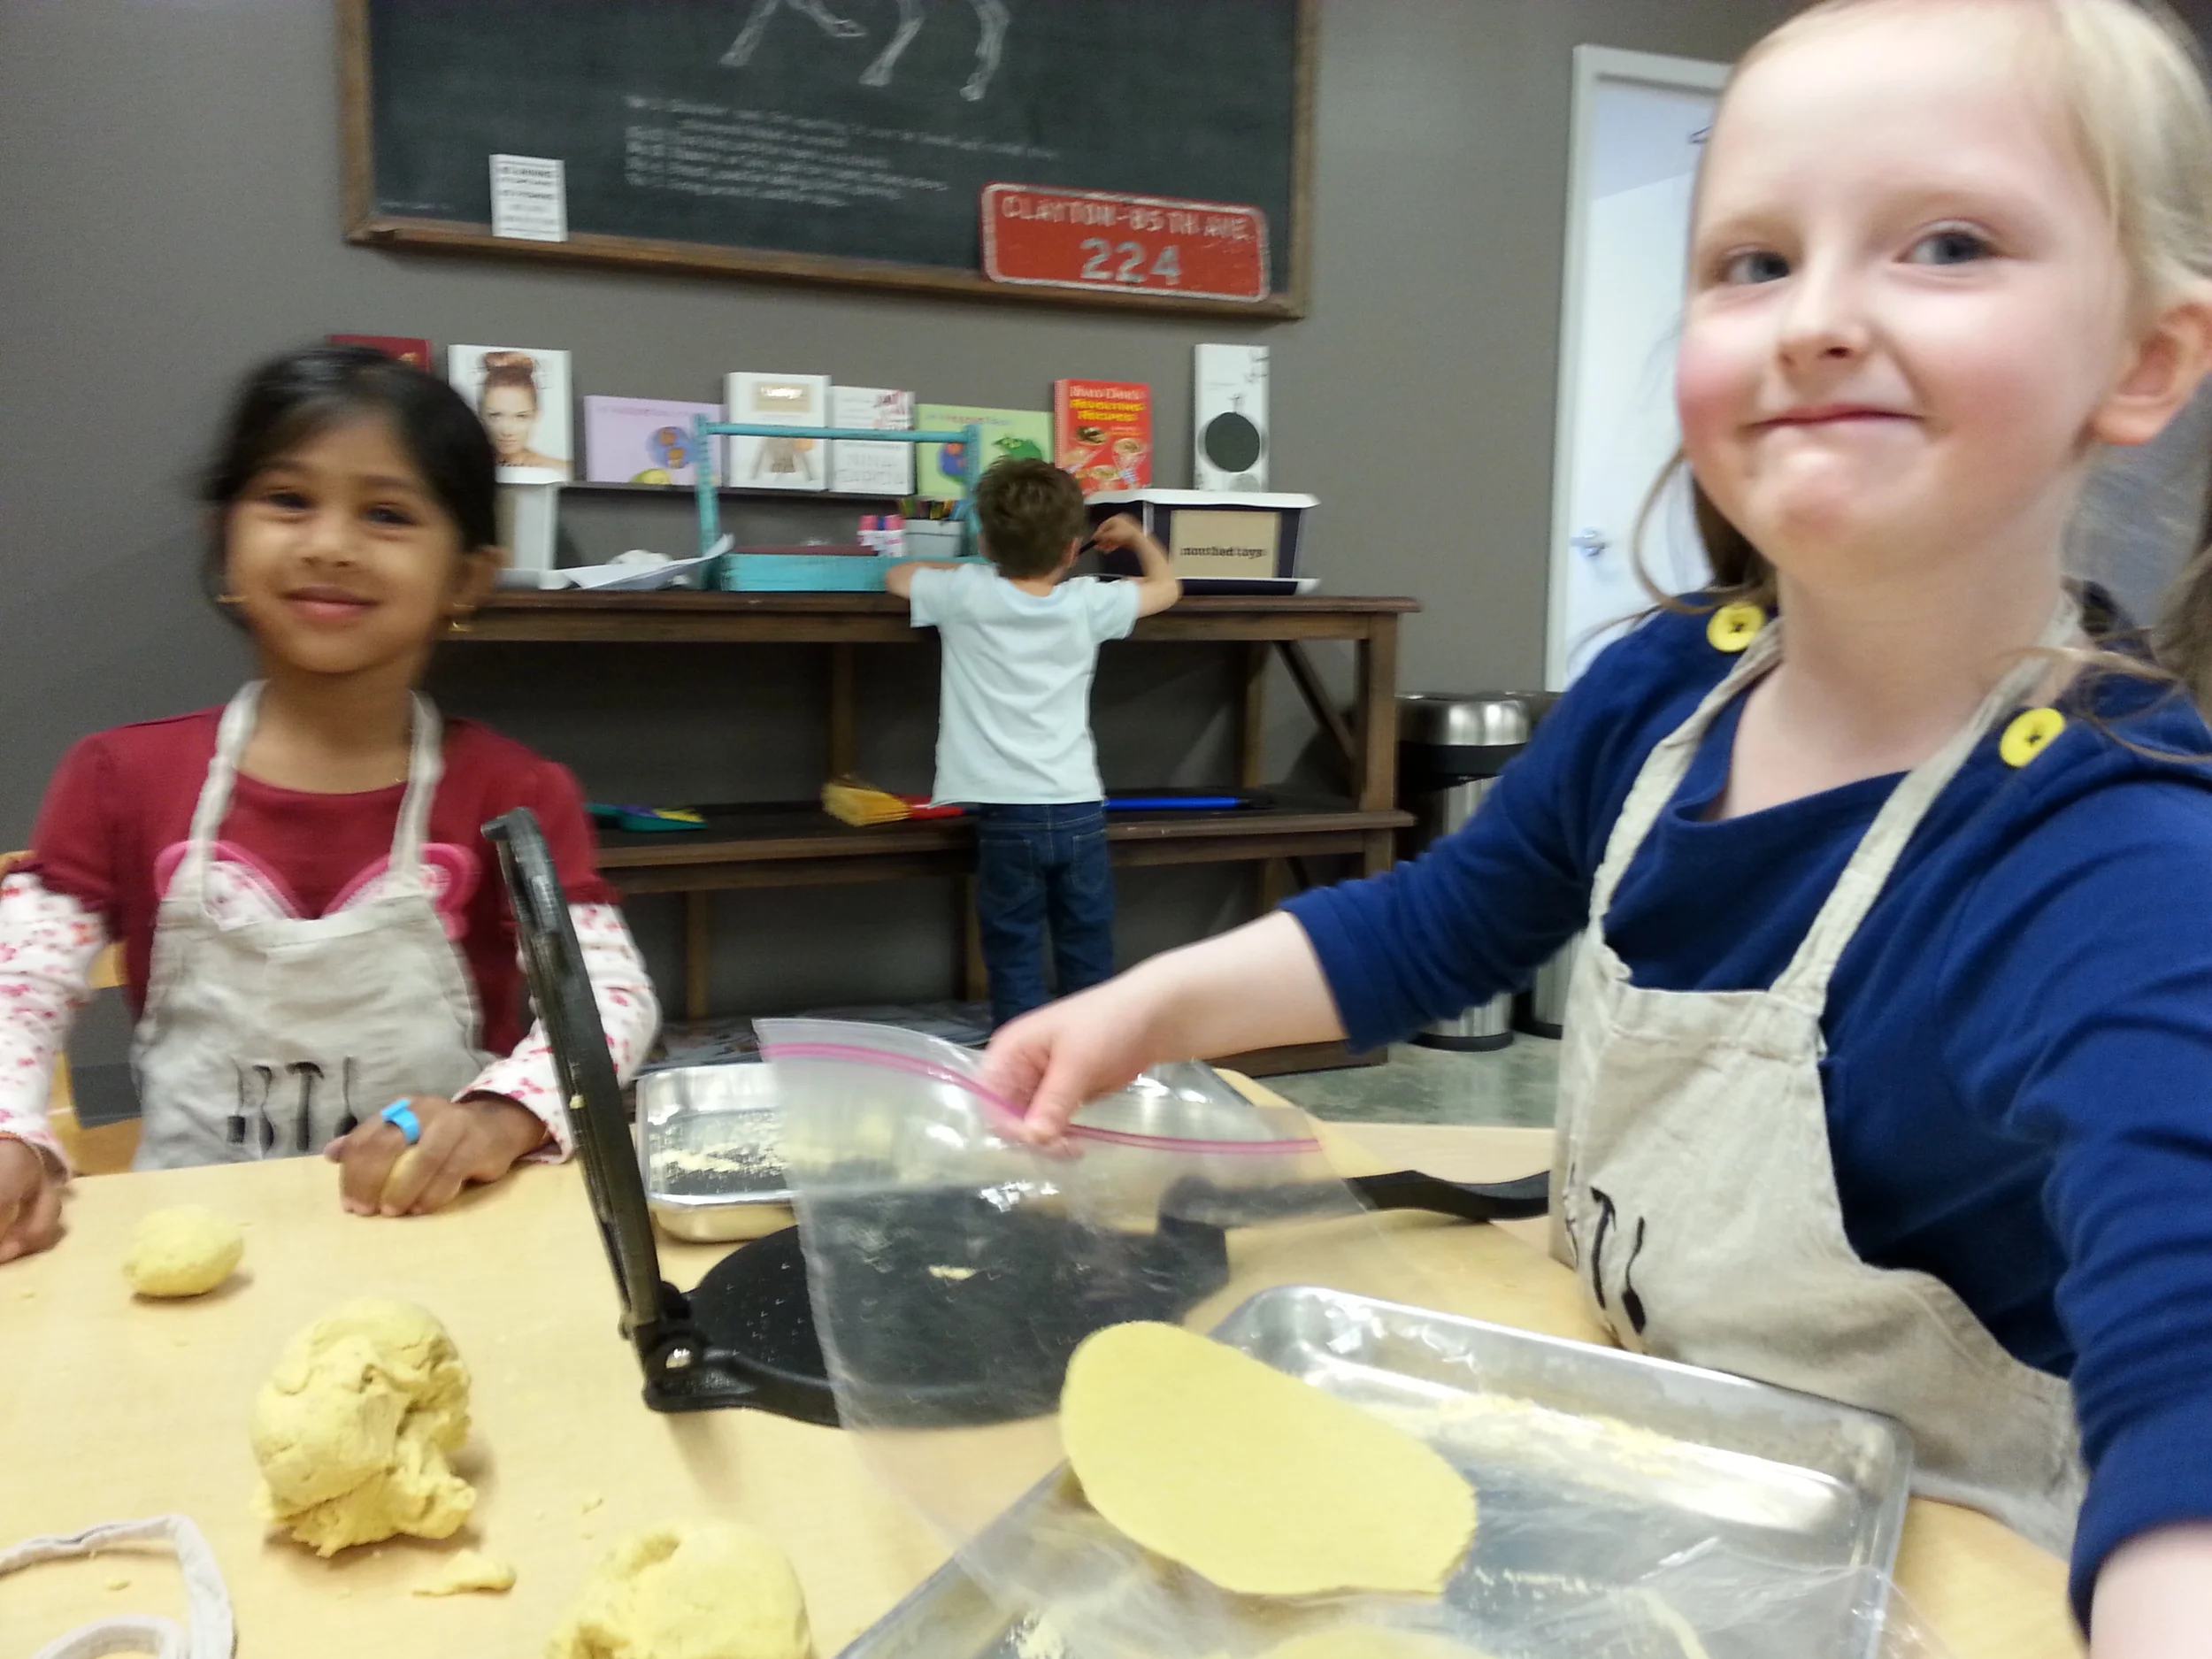
I've made corn tortillas a few different ways, but you can't go wrong by following the instructions on the back of a Bob's Red Mill Masa Harina bag. Basically you want to add enough water to the corn flour so the dough feels like playdough - not too dry, not too sticky. I love using a food processor for this, but you can mix by hand as well.

I few months ago I bought a tortilla press and it has seen quite a bit of action. To keep the dough from sticking to the press, I cut the side seams of a gallon ziploc bag. The bag lines the press perfectly.
Here are two of my favorite Rompers demonstrating the technique. Not having any fun at all...
We toasted the tortillas in a hot pan, filled them with cheddar cheese and dove in. Very tasty!